Ghost Browser is a productivity browser that helps its users to easily do advanced browser tasks like creating and managing different accounts. It is a Chromium-based browser so it’s quite secure and you can easily import your Google Chrome settings here. However, Ghost Browser is only available for Windows and Mac computers. You can also use it for free although there are plans that give you more advanced features.
You can use Ghost Browser to log in to multiple different accounts on various tabs but there is a limit to it. The limitation isn’t with Ghost Browser but the limitation that websites, especially social media websites, have on the number of accounts you can create on a single IP address. Even if you create multiple browsing accounts on Ghost Browser, you will still have the same IP address which still confines you to those same limitations.
To bypass these limitations, you need the help of a Ghost Browser proxy as even a VPN would not be enough. A browser proxy will handle all of your web requests for you and also give you access to millions of IP addresses. Your own IP address will be hidden and any website you visit will only be able to see the IP address of the proxy server.
To effectively implement proxies in Ghost Browser, you can either use their custom extension called “Ghost Proxy Control” or you can set your system’s proxy settings as Ghost Browser will automatically use those settings. Ghost Browser has an excellent tutorial on how to use their custom extension and you can find it here. For the second option though, we will show you how to configure your own system’s proxy server.
So, let’s set up your Ghost Browser’s proxy server.
For Windows:
To set up proxies in Windows, simply search for “Proxy Settings” in your windows search bar and open the search result.
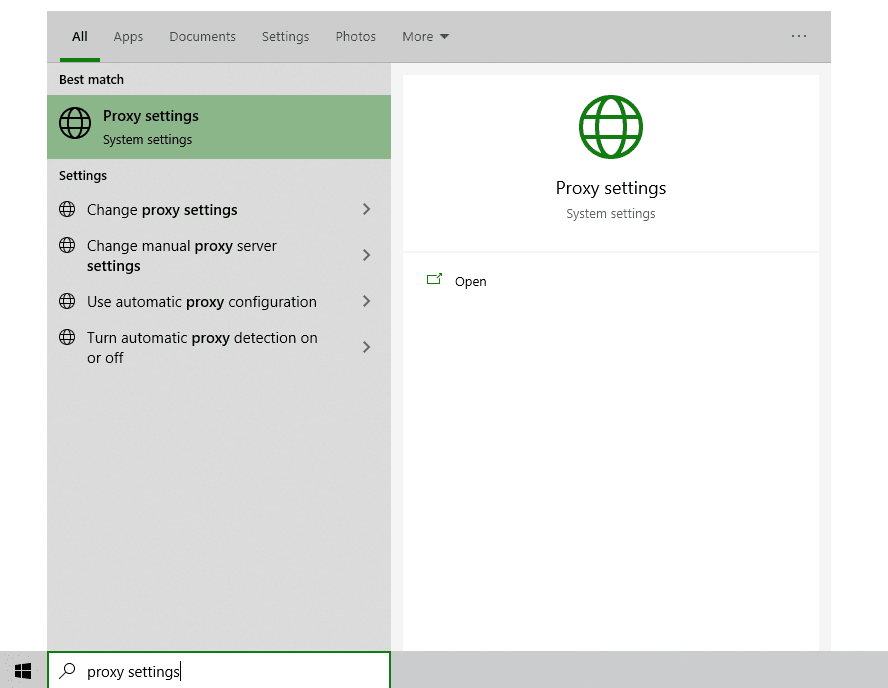
You are then given two options to choose from: Automatic proxy setup or Manual proxy setup. If you want windows to automatically detect your proxy settings, choose the first option. Choose the second option if you want to utilize a specific ip address and port number.
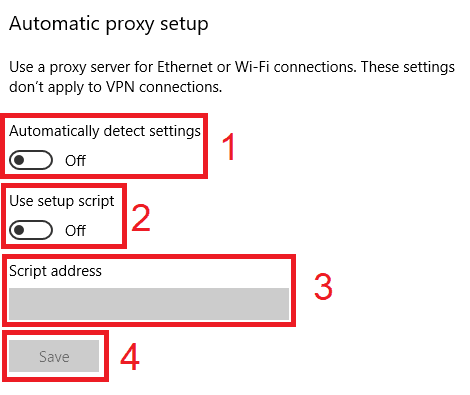
If you chose the first option, then:
- Turn on Automatically detect Settings
- Turn on Use setup script
- Enter the script address
- Click Save
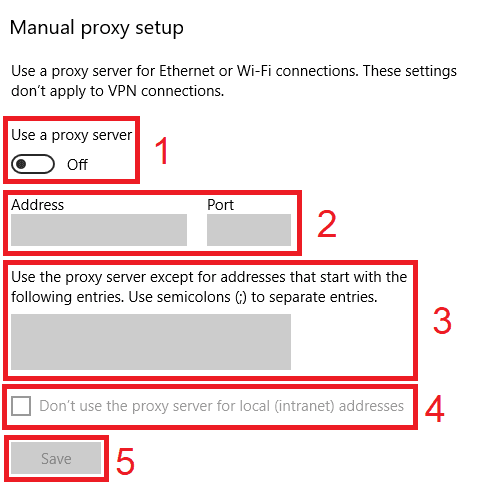
If you chose the second option, then:
- Turn on Use a proxy server
- Input both server address and port number
- If you have any addresses you would like to visit without a proxy, enter them here
- Turn on Don’t use the proxy server for local addresses check box if you want to access a local server without a proxy
- Click Save
For Mac.
To start configuring your proxy settings in MacOS, simply:
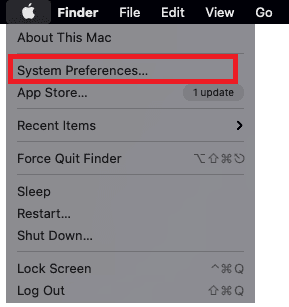
Step 1. Click on the Apple Icon.

Step 2. On the drop down menu, click on “System Preferences”.
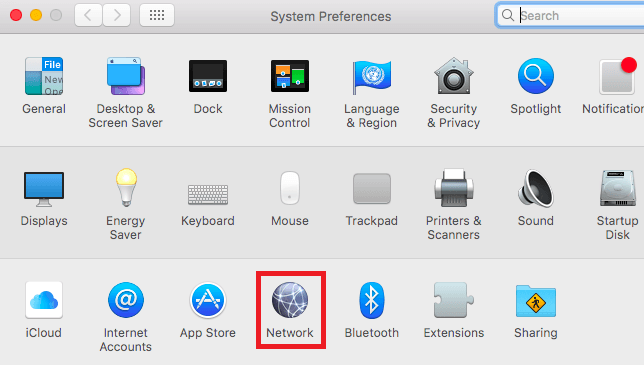
Step 3. Click on “Network”
Step 4. Click on “Advanced”
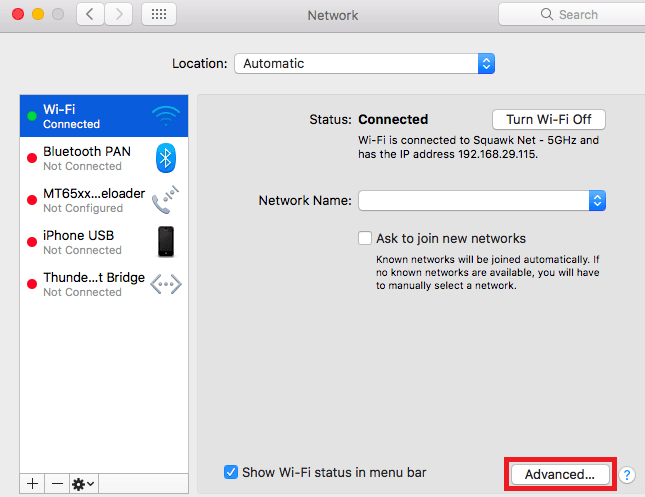
Note: Make sure to connect to your wi-fi first.
Step 5. Click on “Proxies”
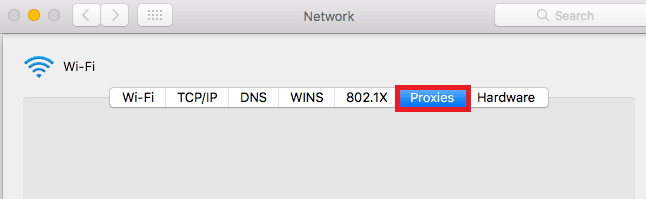
This should then redirect you to MacOS proxy settings. MacOS is more straightforward compared to windows. You only have one option which is to manually configure your proxy server.
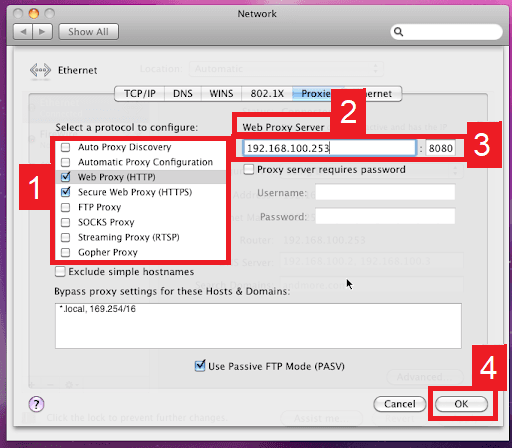
Here are the steps to follow:
- Select which proxy IP protocol you want to configure. This depends on which protocols your proxy service provider offers.
- Turn on Secure Web Proxy
- Input the Proxy Server Address and Port Number
- Click OK to save the configurations
Note: You may be prompted for your Mac user password to save your settings.
Congratulations! You have now finished configuring a Ghost Browser proxy server. Note that the first time you visit it, there will be a pop up asking for your login credentials.