Dashe is an automation tool that helps users automate the checkout process on websites. It is recognized by users as one of the fastest and best auto-checkout tools especially for ecommerce websites like Shopify. Although Dashe is a premium tool, it is still relatively affordable and users can create a single task or even multiple, concurrent tasks.
As Dashe is a bot, websites will ban your account if they detect that you’re using it. Your IP address will also get blacklisted, so you won’t be able to access that website again. To avoid this from happening, you need to use a Dashe proxy.
A Dashe proxy will handle all of your web requests for you so any ecommerce website you visit will only be able to see the IP address of the proxy server and you can easily change this IP address. So, by continuously rotating proxies, Dashe will have a different IP address on a set time interval. This deceives websites into thinking that Dashe is actually a genuine user.
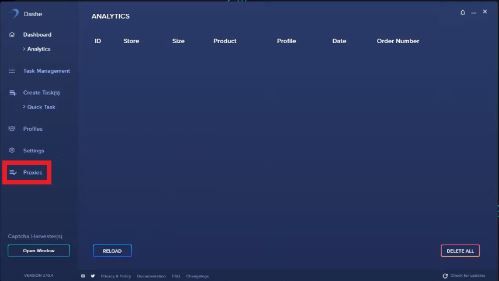
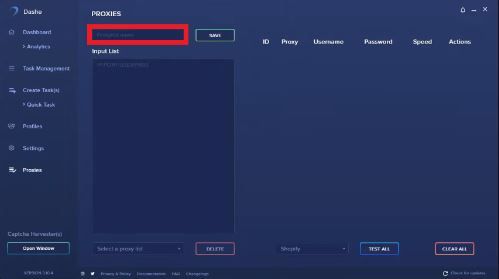
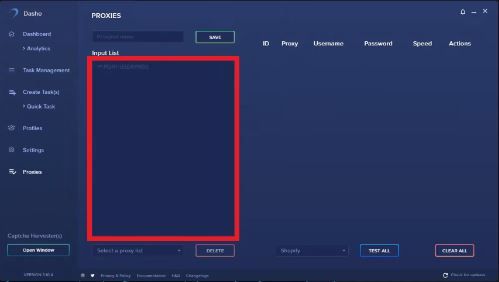
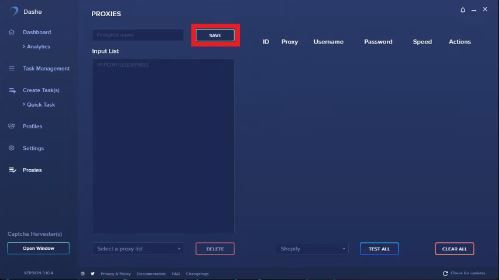
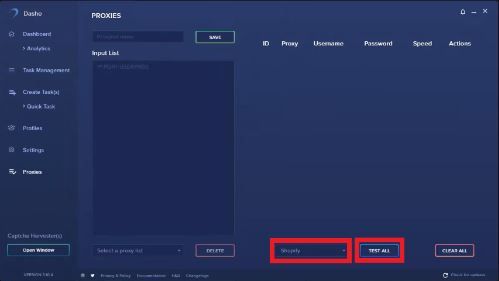
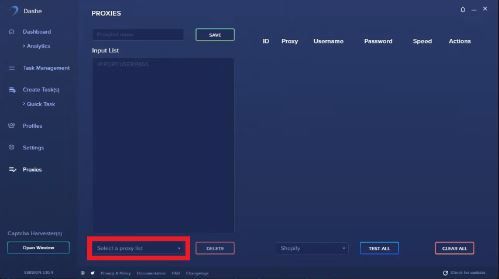
Let’s set up a Dashe proxy server.