FollowPlanner is an automation bot that is specifically designed for Instagram. It automates all of Instagram’s tasks like making posts, liking and commenting on posts, following and unfollowing other people, and many more. FollowPlanner also lets you create and manage multiple Instagram accounts.
As an automation bot, the use of the FollowPlanner bot is heavily restricted by Instagram. If Instagram detects that you’re using this bot, or any bot for that matter, your account and IP address would be immediately blocked. To avoid being banned, you need to pair FollowPlanner with a FollowPlanner proxy.
A FollowPlanner proxy will handle all of your web requests for you so any website you visit will only be able to see the IP address of the proxy server. By continuously rotating IPs and utilizing residential proxies, website’s will be deceived into thinking that FollowPlanner’s requests are from genuine users and not just from a bot.
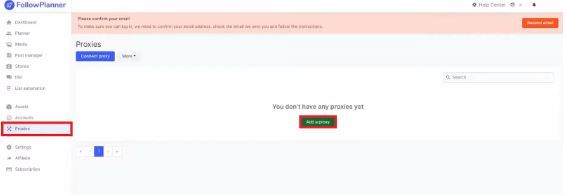
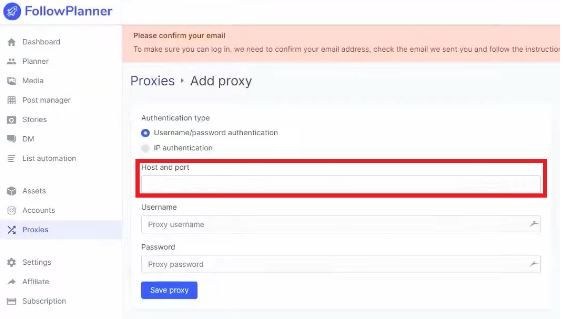
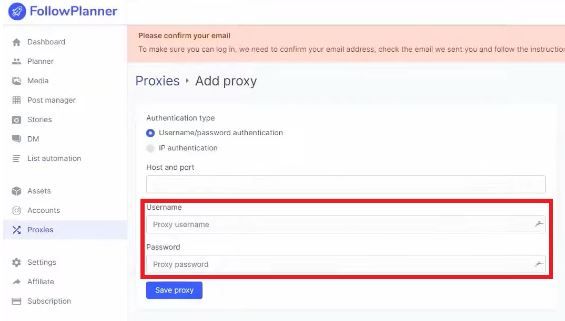
Let’s set up a FollowPlanner proxy server.