geonode logo

How To Use Proxies With Helium Scraper

Helium Scraper, as its name suggests, is an exceptional web scraper that can automatically extract data from any website. It makes data extraction relatively easy with its intuitive user interface and users don’t have to do any coding. Helium Scraper is a premium tool but you’re given a free trial of 10 days.

Carl Gamutan

by Carl Gamutan

Publishing Date: June 14, 2022


Helium Scraper, as its name suggests, is an exceptional web scraper that can automatically extract data from any website. It makes data extraction relatively easy with its intuitive user interface and users don’t have to do any coding. Helium Scraper is a premium tool but you’re given a free trial of 10 days.

When scraping huge amounts of data with Helium Scraper, you’re sending a lot of requests to that website’s web server and cause some lag. This is why websites will immediately ban any account that’s recognized as using one. To avoid this ban from happening to you, you need to utilize a Helium Scraper proxy.

A Helium Scraper proxy will handle all of your web requests for you so any website you visit will only be able to see the IP address of the proxies server. By continuously rotating proxies, Helium Scraper would have a different IP address on a given interval. This tricks any website into thinking that its requests are from multiple, genuine users and avoid being detected by them.

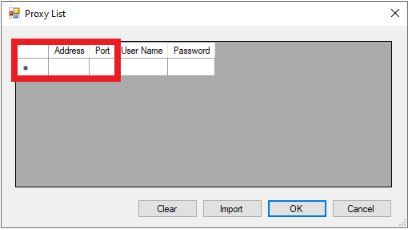
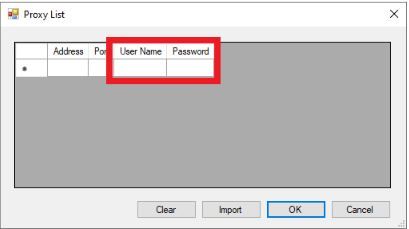
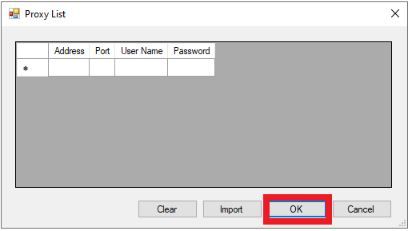
Let’s set up a Helium Scraper proxy server.

How To Use Proxies With Helium Scraper

Step 1. Create or Open a project then enter its Name and the location you want it to be saved at.

1.JPG

Step 2. Click on Project and then on Settings.

2.JPG

Step 3. On Settings, find the Proxies tab and change Enable Proxies to True.

3.JPG

Step 4. Set the Proxy Rotation Interval to the time you want the proxies to switch.

4.JPG

Step 5. Decide if you want the proxies to be only used on the Browser or it be used for Everything.

5.JPG

Step 6. Enter a Website’s URL that when proxies fail to load, those proxies won’t be used.

6.JPG

Step 7. Close the Settings, click on File and then on Proxy List.

7.JPG

Step 8. Enter the proxy server’s IP address and Port Number.

8.JPG

Step 9. Input your proxy account’s Login Credentials.

9.JPG

Step 10. Click on OK to save.

10.JPG

Congratulations! You have successfully finished configuring a Helium Scraper proxy server whenever you extract any data.

Premium residential proxies

Unlock the full potential of the internet with our flexible Pay-As-You-Go billing, designed for every scale of usage with no hidden fees.