What if you’re working from home, managing multiple online accounts, browsing restricted websites, or trying to maintain your privacy. You know using proxy servers to operate with all of this, but you hit a roadblock — the apps you use don’t support proxies. Frustrating, right?
This is where Proxifier comes in. It enables support working through proxy for apps that don’t natively have it, giving you the control and privacy you need. This guide will show you how to set up Proxifier and enhance your online experience.
However, note that Proxifier doesn’t provide proxies itself—you’ll need to source proxies from a reliable provider.
Step-by-Step Guide to Setting Up Proxies with Proxifier
Let’s walk through how to set up a proxy server using Proxifier.
Step 1: Download Proxifier
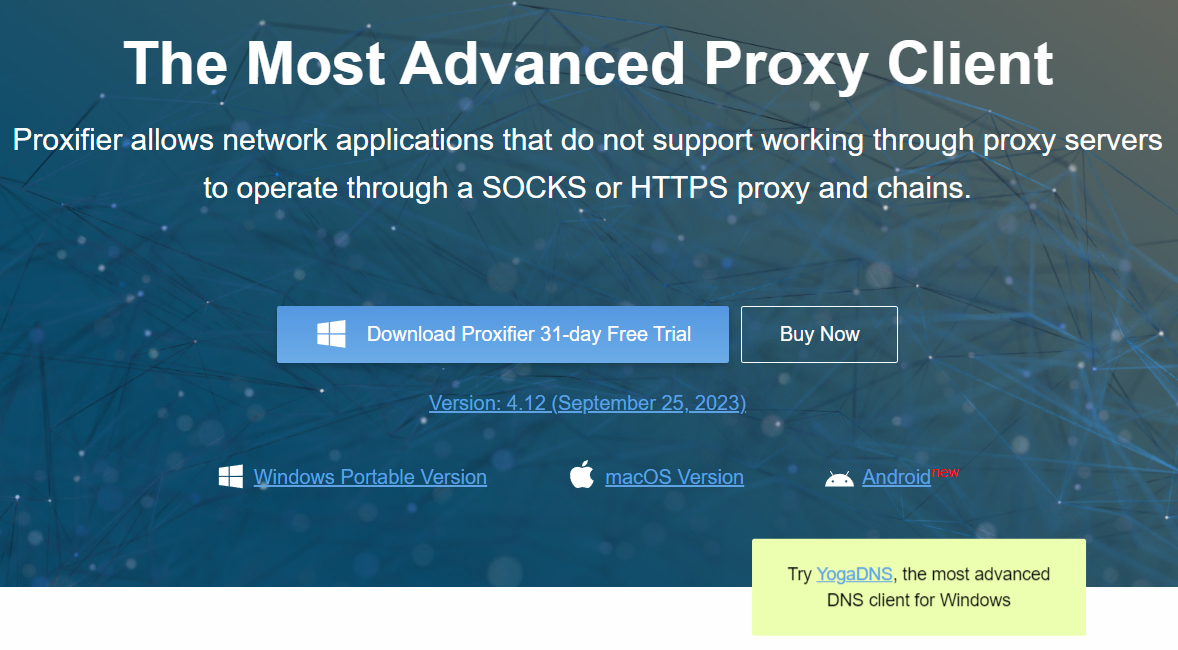
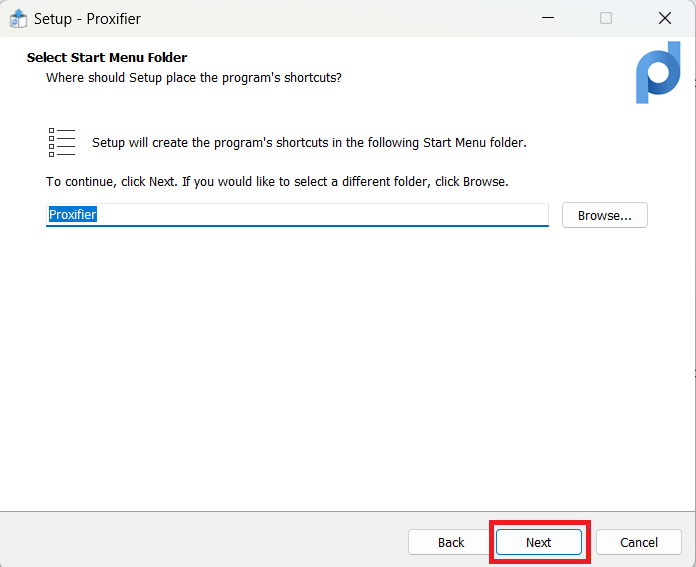
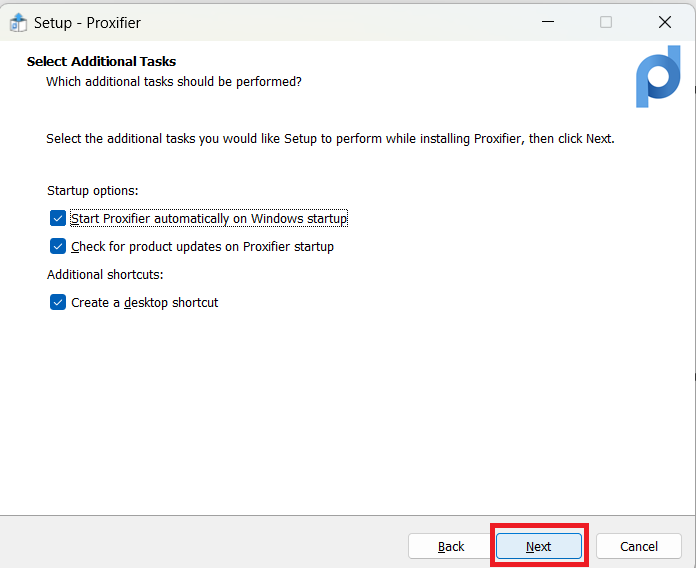
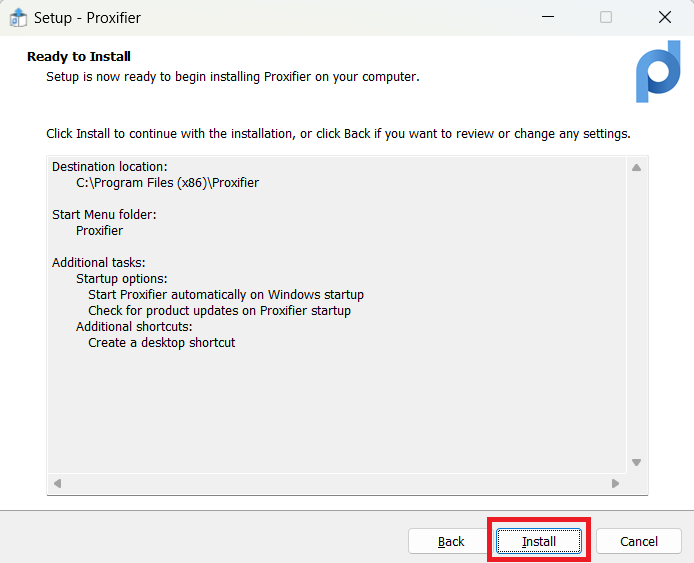
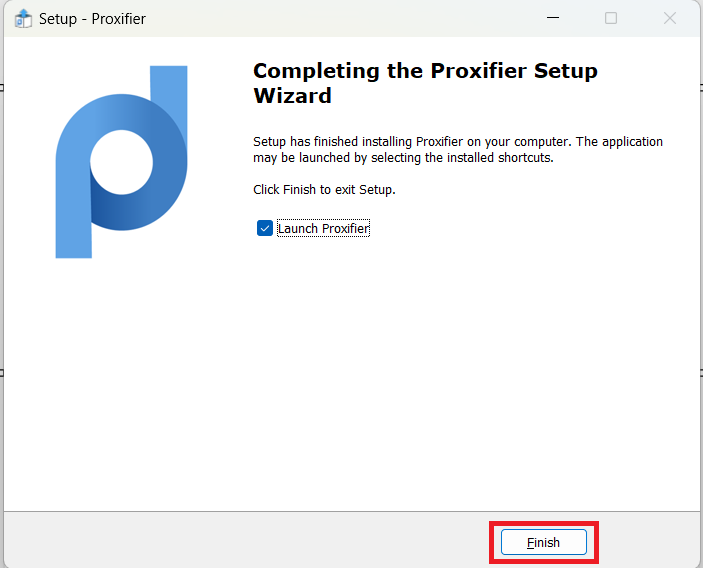
Visit their website to download Proxifier. You can try the 31-day Free Trial or purchase it directly. Proxifier is available for Windows (Portable Version), macOS, and Android. Choose the version for your device and install it.
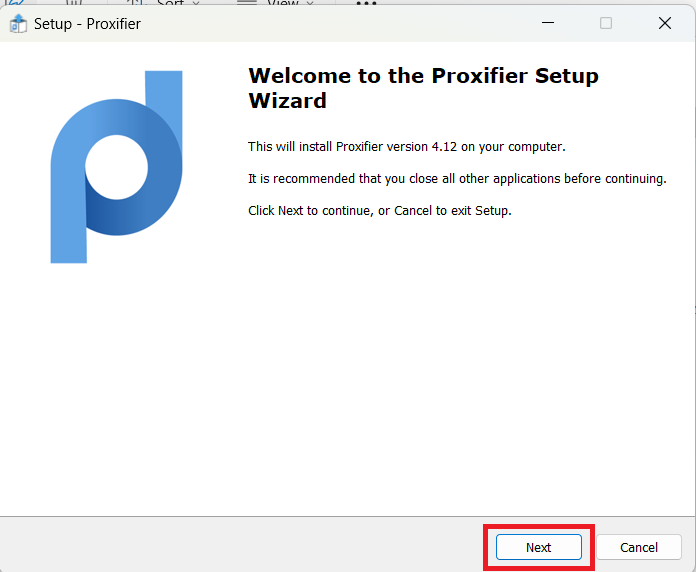
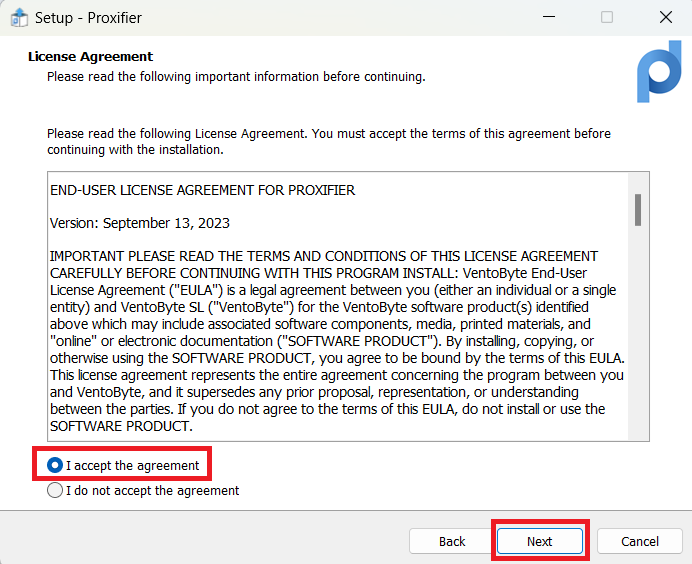
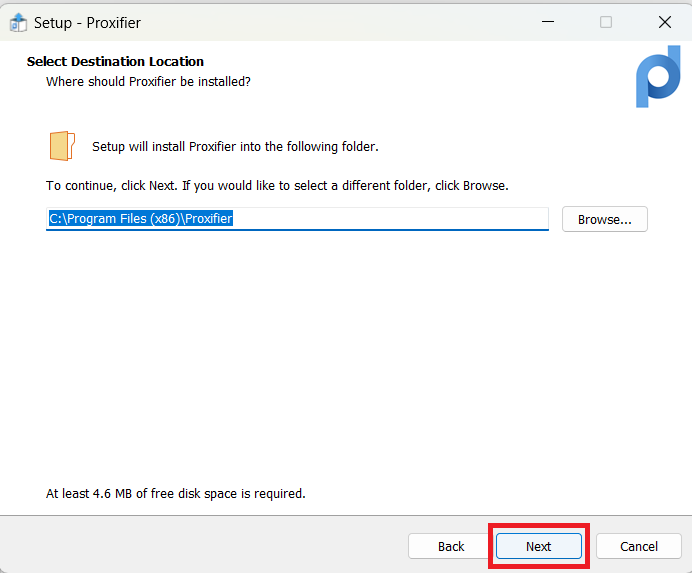
Step 2: Setting Up a New Proxy Server
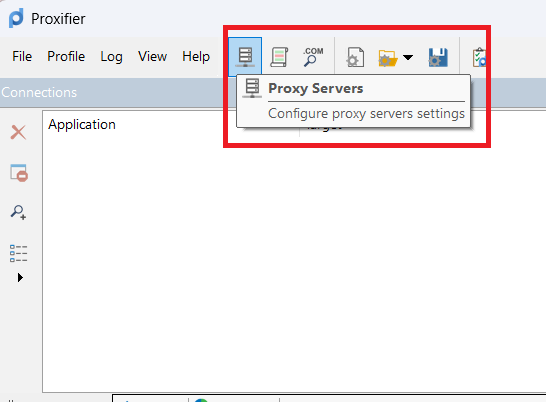
Once installed, open the app and click the “Proxy Servers” icon and click on the "Add" button to input the proxy server’s details, including the IP address and port number provided by your proxy provider.
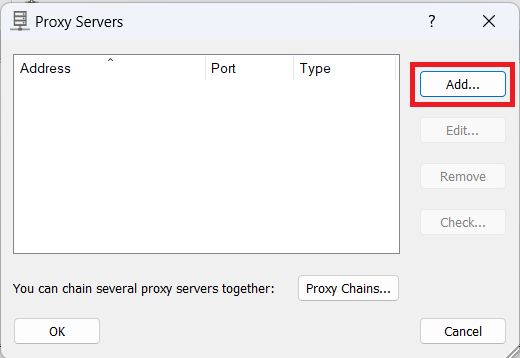
Step 3: Add Server Address and Corresponding Port
Use the credentials provided by your proxy provider and input the address and the port.

Step 4: Selecting the Proxy Protocol
Choose the protocol used by your proxy: HTTP, HTTPS, or SOCKS. HTTP/HTTPS is ideal for browsing, while SOCKS offers more flexibility for tasks like email or file transfers.
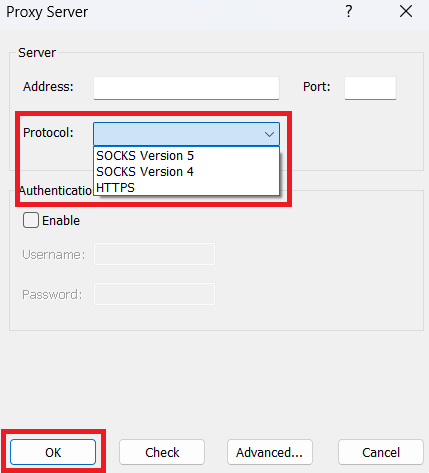
Step 5: Input Authentication Details
If your proxy requires a username and password, tick the "Enable" box and enter your credentials provided by the proxy service.
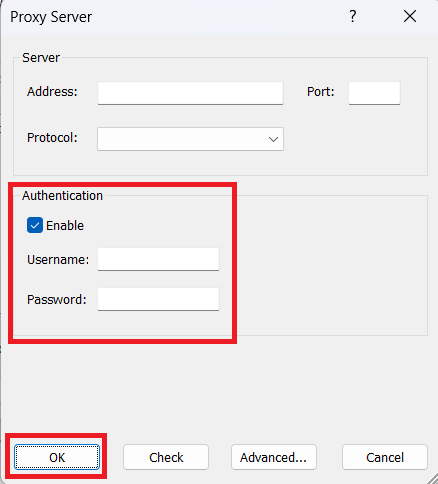
Step 6: Set Up Default Proxy
Click the “OK” button and on the new pop-up window, select “Yes” if you want this proxy to be the default for all applications. Otherwise, select “No”.

Step 7: Enable HTTP Proxy Server Connections
To customize further, go to Profile > Advanced > HTTP Proxy Servers to enable HTTP proxy settings.
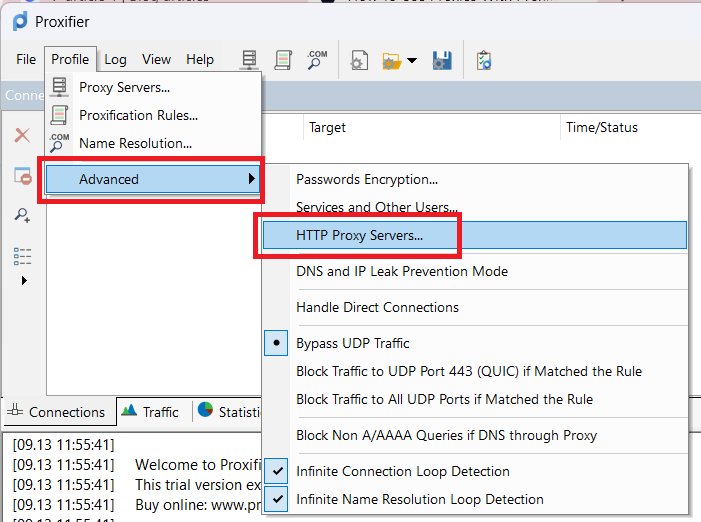
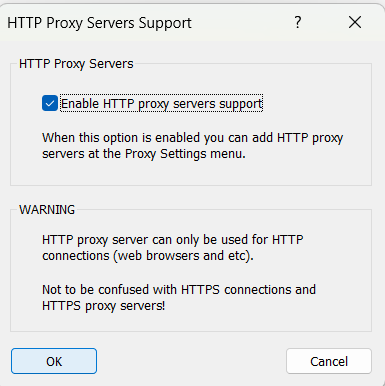
Step 8. Enable HTTP Proxy Server
Tick on the “Enable HTTP proxy servers support” box and then click on the “OK” button.
Tips for Using Proxifier Effectively
Test Your Proxies
After setup, test the proxy by visiting sites like WhatIsMyIP to ensure the IP address has changed to your proxy’s location.
Regularly Update Proxies
Keep your proxy lists updated regularly to prevent connection problems. Outdated proxies can stop working, interrupting your browsing.
Use Secure Proxies
For sensitive tasks, always use secure HTTPS proxies. This ensures that your data stays encrypted and shielded against any unauthorized intrusions.
Conclusion
Proxifier is an essential tool for anyone needing to manage their privacy or access geo-restricted content. The easy setup process and the ability to make any app work with a proxy make it a must-have for secure online browsing.
To further enhance your privacy, consider using Geonode’s variety of proxies. They are reliable, secure, and perfect for managing multiple accounts or accessing restricted content without the risk of getting flagged.
Maximize your privacy and performance by combining Geonode’s residential proxies with Proxifier for a seamless browsing experience.