Unbeatable Prices on Proxies

đź’Ą
geonode logo

How To Use Proxies With PVACreator

PVACreator is a tool that lets users create multiple accounts on any famous platform with a different email address attached to the account. Although users can do this manually, it would take a lot of time and effort especially if you’re planning to create a lot of accounts from various platforms. PVACreator will speed up the process and help you save a lot of time.

Carl Gamutan

by Carl Gamutan

Publishing Date: June 19, 2022


PVACreator is a tool that lets users create multiple accounts on any famous platform with a different email address attached to the account. Although users can do this manually, it would take a lot of time and effort especially if you’re planning to create a lot of accounts from various platforms. PVACreator will speed up the process and help you save a lot of time.

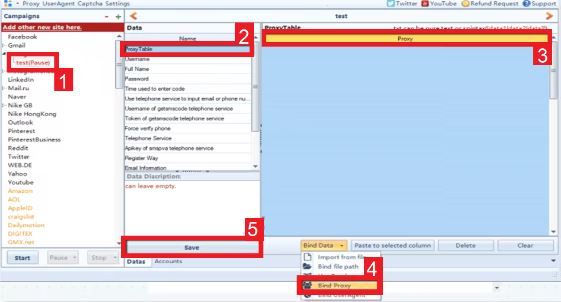
Most websites, especially social media platforms, limit the number of accounts a single IP address can create. It varies per website but if you exceed that limit, then the website would start banning the extra accounts. To bypass this limitation, you need to use a PVACreator proxy.

A PVACreator proxy will allow you to create any number of accounts by constantly changing your IP address each time you create a new account. So, a new account would have a different IP address making it look like a new user is creating that account and not just from the same account.

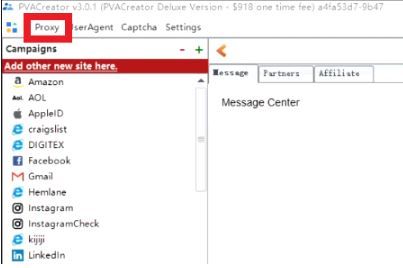
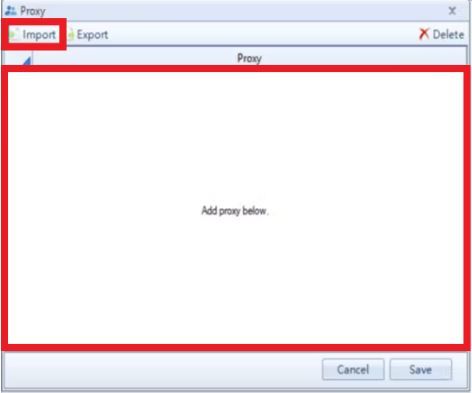
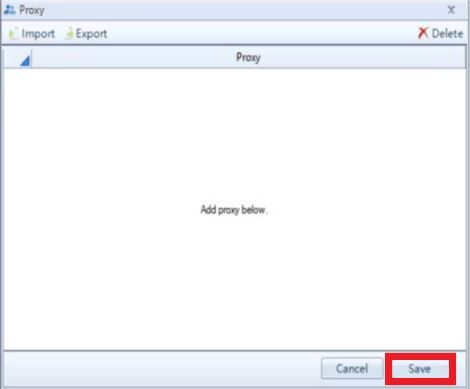
Let’s set up a PVACreator proxy server.

How To Use Proxies With PVACreator

Step 1. Open PVACreator and click on Proxy.

1.JPG

Step 2. To input your proxies, either click on Import if it’s saved on a file or just paste it on the large box.

2.JPG

The format for the proxies should be in the hostname:port:username:password format and hostname:port if the login credentials aren’t required.

Step 3. Click on Save.

3.JPG

You have finished adding proxies to PVACreator but you still have to bind them to any of your campaigns. Simply:

  1. Open your chosen campaign.
  2. Click on Proxy Table.
  3. Select Proxy.
  4. Then Bind Data>Bind Proxy.
  5. Lastly, click on Save.

4.JPG

Congratulations! You have successfully set up a PVACreator proxy server whenever you want to create multiple accounts.