WebHarvy is a data scraper that can gather all kinds of information from websites and save those information in different formats. This includes text, HTML, images, URLs, and emails from any website users want. WebHarvy is easy to use as it simplifies a lot of processes so that even beginners can easily utilize it.
If you want to extract a large amount of data, you need to utilize a WebHarvy proxy when using WebHarvy. Most websites have strict restrictions against the use of bots on their site and will immediately ban any account that’s detected using one.
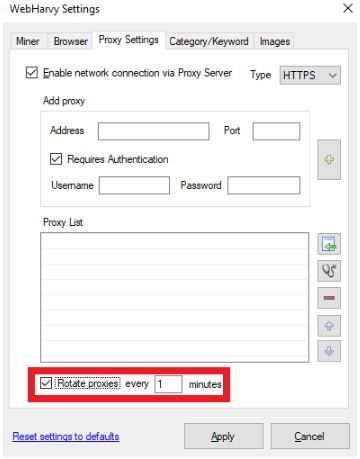
A WebHarvy proxy will prevent any ban from happening because it will handle all of your web requests for you. By using residential proxies and continuously rotating IPs, WebHarvy would have a different IP on a set time interval. This tricks any website into thinking that the WebHarvy bot is actually a different user each time it sends a request.
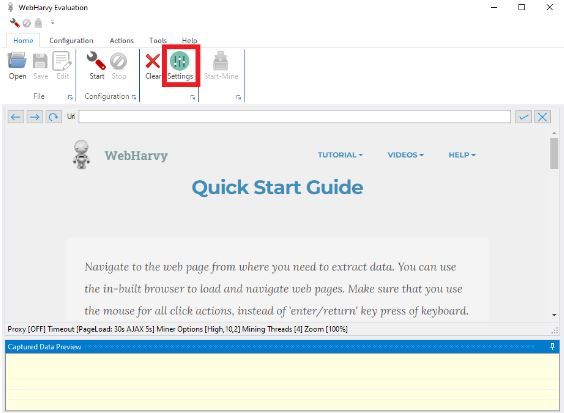
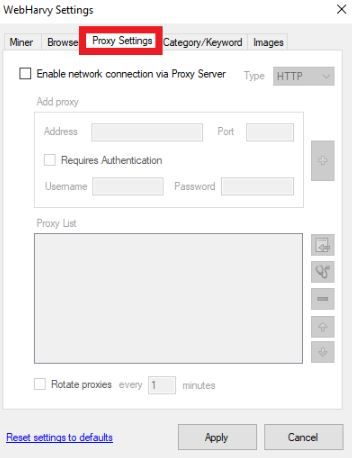
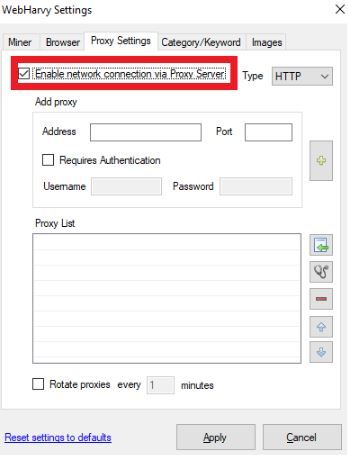
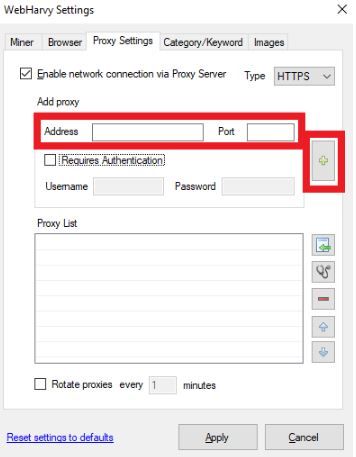
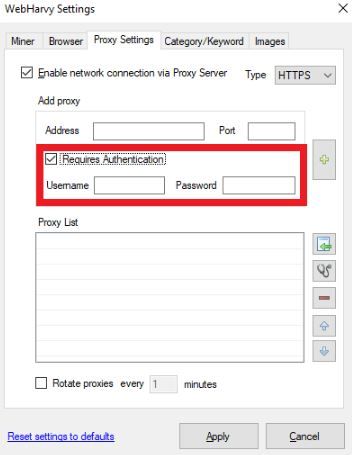
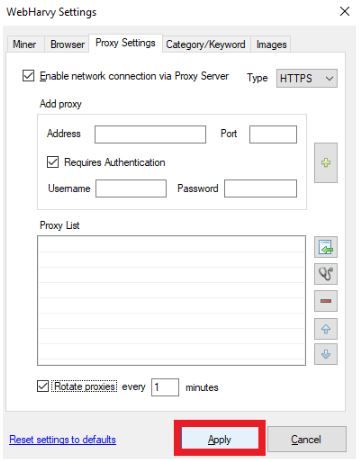
Let’s set up a WebHarvy proxy server.