Unbeatable Prices on Proxies

💥
geonode logo

How to Effectively Utilize Proxies with ZennoPoster: A Comprehensive Guide

In today's competitive online environment, the use of proxies and automation tools is essential for efficient web scraping, data extraction, and other tasks. One such powerful tool is ZennoPoster. In this guide, we will walk you through the process of using proxies with ZennoPoster and provide you with valuable tips for optimal performance.

Carl Gamutan

by Carl Gamutan

Publishing Date: June 15, 2022


ZennoPoster is a Search Engine Optimization (SEO) tool that allows its users to boost their website’s rankings on any Search Engine Result Page (SERP). It performs various tasks such as creating and managing accounts, commenting on blogs and forums, processing emails, and many more.

To fully utilize the strengths of ZennoPoster, you need to pair it with a ZennoPoster proxy. A ZennoPoster proxy will enable you to bypass the account limitation of a single IP and allow you to create multiple accounts from a single computer. It will also help you avoid bans that will come your way when you're using an automation tool.

The best ZennoPoster proxies would be either residential proxies or datacenter proxies, depending on what you value more. If you want full assurance that you won’t be banned when using ZennoPoster and the most reliable proxies, then residential proxies are the ones for you. If you value speed and want affordable proxies, then datacenter proxies are the best for you.

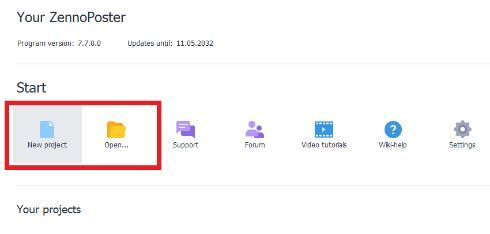
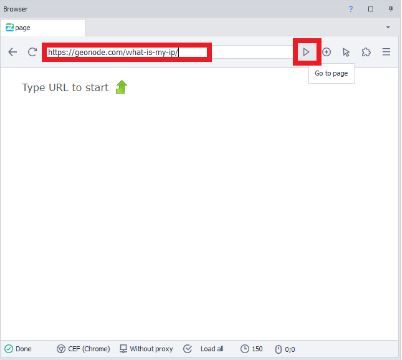
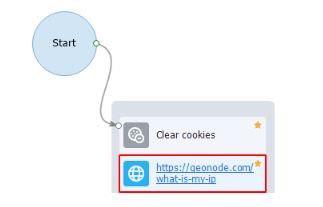
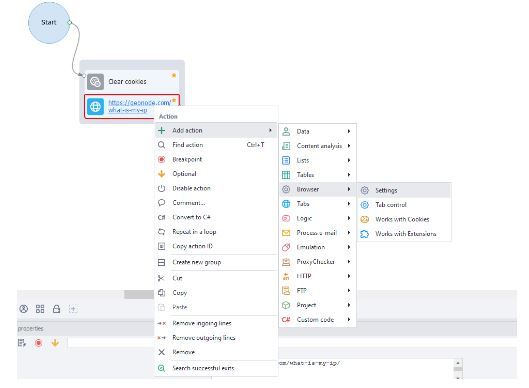
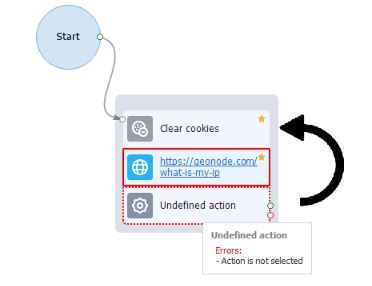
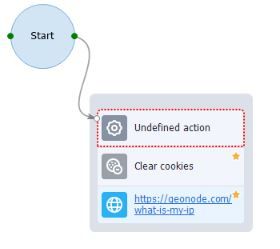
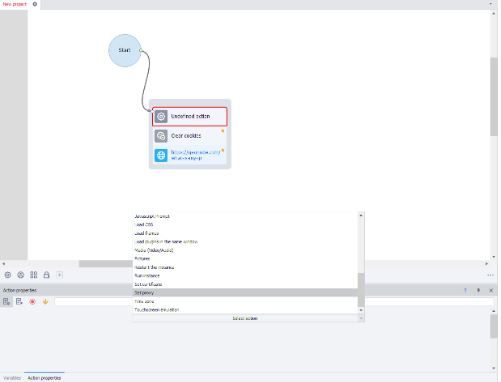
Let’s set up a ZennoPoster proxy server.

How To Use Proxies With ZennoPoster

Step 1. Open ZennoPoster and if you want to create a new project, click Record but if you have a project already, then click Open.

1.JPG

Step 2. Input your target website and click the right-pointing triangle.

2.JPG

A pathway should then appear.

3.JPG

Step 3. On the pathway, right click on the box then Add action>Browser>Settings.

4.JPG

Step 4. A new box should appear, which you drag to the top and make sure that the Start arrow goes to the Undefine action box.

5.JPG

It should look like this.

Step 5. On Action Properties, click Select action and scroll until you find the Set Proxy option.

6.JPG

Step 6. Now, input your proxy details on a username:password@IP:Port format.

6.JPG

Step 7. Lastly, click on Restart and then Yes, step by step on the pop-up window.

7.JPG

Congratulations! You have successfully added a ZennoPoster proxy server!