Puppeteer is a node library that gives its users a high-level headless Chrome API. Through it, users can take endless screenshots of websites and save web pages as a PDF. There are also many more tasks Puppeteer can do including: submitting forms, generating pre-rendered content, entering keyboard commands, testing chrome extensions, and many more.
Advanced tasks like web scraping and other tasks that involve automation can also be done through Puppeteer. However, if you only use Puppeteer to do those tasks, there’s a good chance that your IP address will be banned. Most websites have strict anti-bot policies and have set up systems to detect bot activity. Any account caught using a bot will be immediately banned.
To bypass these restrictions, you need the help of a Puppeteer proxy. A Puppeteer proxy will handle all of your web requests, including your bot’s requests. Any website you visit will only be able to see the IP address of the proxy server and not your own. Through rotating proxies at set intervals, all of your requests will be coming from different IP addresses making it difficult to detect the fact that you’re using a bot.
If you’re mainly using Puppeteer for advanced tasks like web automation or web scraping, then the best Puppeteer proxies you can use would be residential proxies. Residential proxies use real residential IPs from actual devices making your bot’s requests appear as if it were from various users instead of it coming from a single IP.
Let’s set up a Puppeteer proxy server.
Note: Make sure that the web browser you’re using for Puppeteer is set to automatically copy your computer’s proxy settings. Google Chrome automatically does this, so it’s recommended to use it.
For Windows:
To set up proxies in Windows, simply search for “Proxy Settings” in your windows search bar and open the search result.
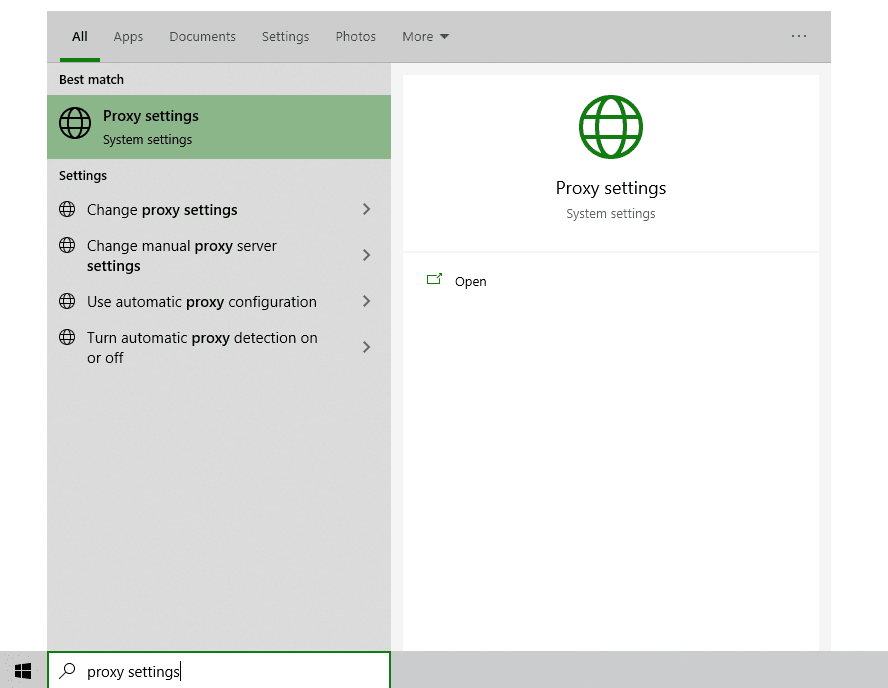
You are then given two options to choose from: Automatic proxy setup or Manual proxy setup. If you want windows to automatically detect your proxy settings, choose the first option. Choose the second option if you want to utilize a specific ip address and port number.
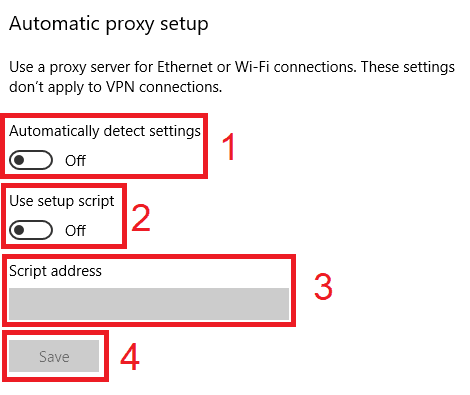
If you chose the first option, then:
- Turn on Automatically detect Settings
- Turn on Use setup script
- Enter the script address
- Click Save
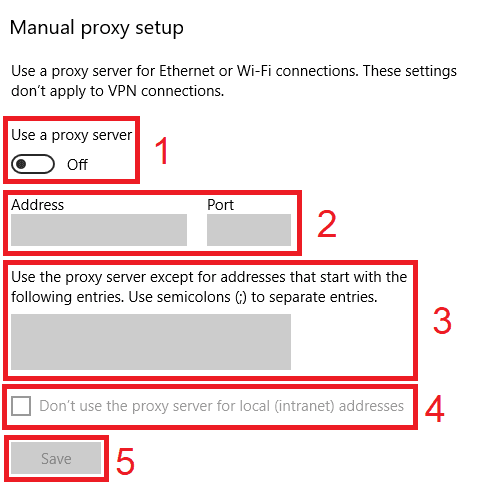
If you chose the second option, then:
- Turn on Use a proxy server
- Input both server address and port number
- If you have any addresses you would like to visit without a proxy, enter them here
- Turn on Don’t use the proxy server for local addresses check box if you want to access a local server without a proxy
- Click Save
For Mac.
To start configuring your proxy settings in MacOS, simply:
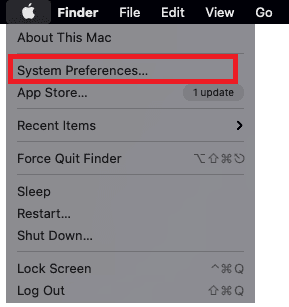
Step 1. Click on the Apple Icon.

Step 2. On the drop down menu, click on “System Preferences”.
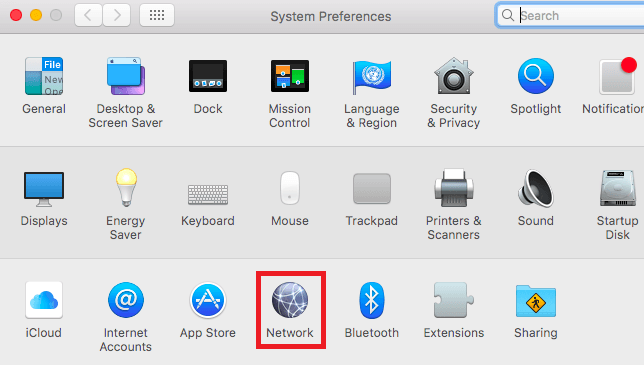
Step 3. Click on “Network”
Step 4. Click on “Advanced”
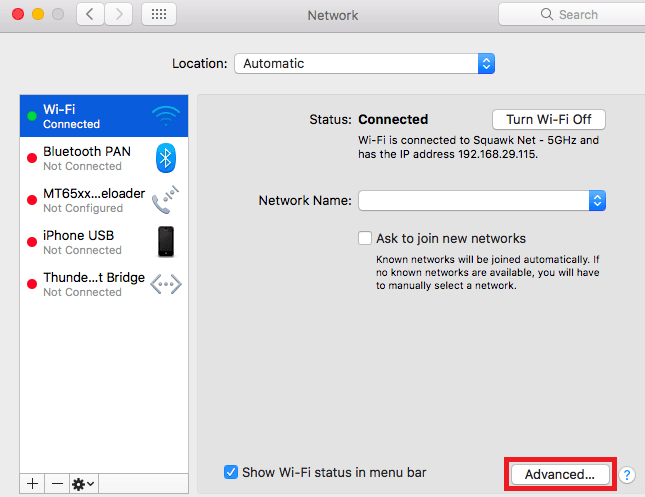
Note: Make sure to connect to your wi-fi first.
Step 5. Click on “Proxies”
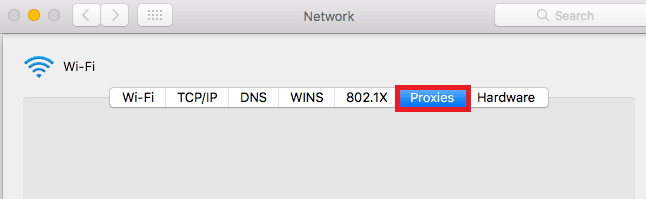
This should then redirect you to MacOS proxy settings. MacOS is more straightforward compared to windows. You only have one option which is to manually configure your proxy server.
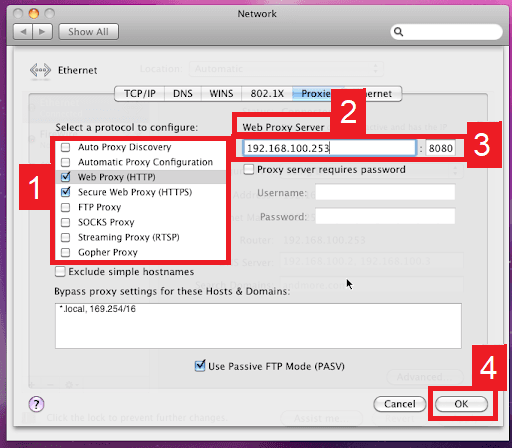
Here are the steps to follow:
- Select which proxy IP protocol you want to configure. This depends on which protocols your proxy service provider offers.
- Turn on Secure Web Proxy
- Input the Proxy Server Address and Port Number
- Click OK to save the configurations
Note: You may be prompted for your Mac user password to save your settings.
Congratulations! You have now finished configuring a Puppeteer proxy server. Note that the first time you visit it, there will be a pop up asking for your login credentials.
Read more similar post... Sitemap
