
Tinder is a dating application. This guide explains general proxy configuration steps for Android and iPhone. Access to websites and applications can vary depending on local network rules, regional availability, and the policies of the service being accessed. A proxy is a general networking tool that can route web traffic through another server. Depending on the setup, it may change the IP address visible to websites and applications. Users should only use proxies in compliance with applicable laws, network policies, and the terms of service of any website or application they access. Different proxy types exist, including datacenter, ISP, and residential proxies. The appropriate setup depends on the user’s technical needs and compliance requirements. Let’s configure proxy settings.
How to Configure Proxy Settings
For Android:
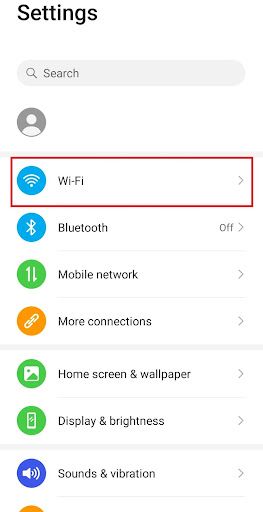
Step 1. Go to your phone’s settings app.

Step 2. Tap on “Wifi”.
Step 3. Long-press the wi-fi network you want to use proxies with.
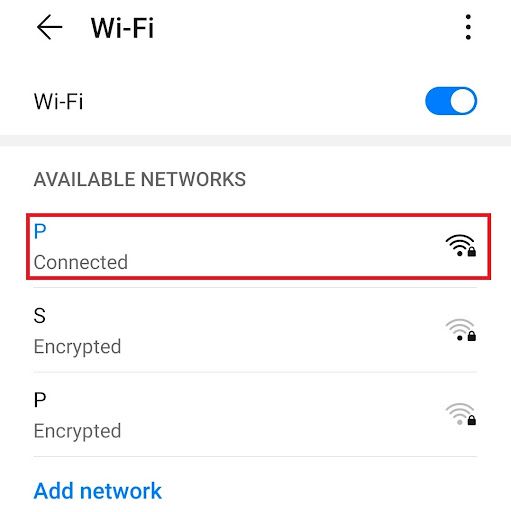
Note: Make sure to connect to the wifi first.
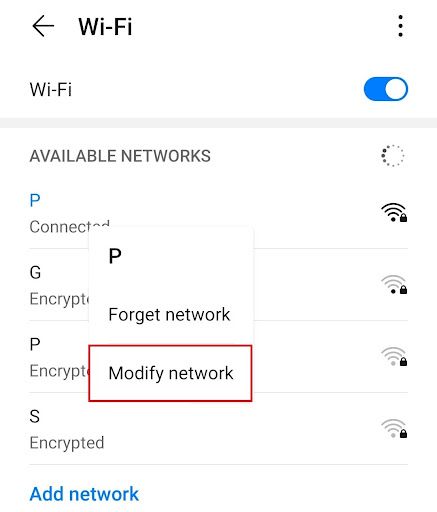
Step 4. Tap on “Modify Network”.
Step 5. Turn on “Show advanced options” and then click on “Proxy”.
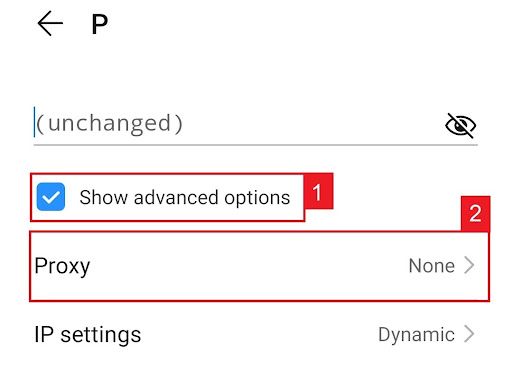
This should then redirect you to your android device's proxy settings. Below is a detailed description of how to configure it.
Configuring Your Android Device’s Proxy Settings
After being redirected to your phone’s proxy settings, you are then given two options to choose from: Automatic proxy setup or Manual proxy setup.
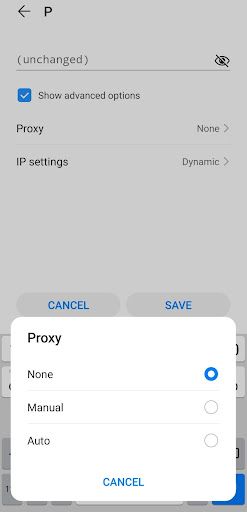
If you want your device to utilize specific proxy server settings, choose the first option “Manual”. Choose the second option, “Auto”, if you want your device to automatically detect your proxy settings.
Note: Older android versions may not have the “Auto” option available.
If you chose Manual configuration, then:
- Enter your proxy hostname
- Input your proxy port number
- Put any websites here that you don’t want to use any proxies on.
- Tap “Save” if you’re finished
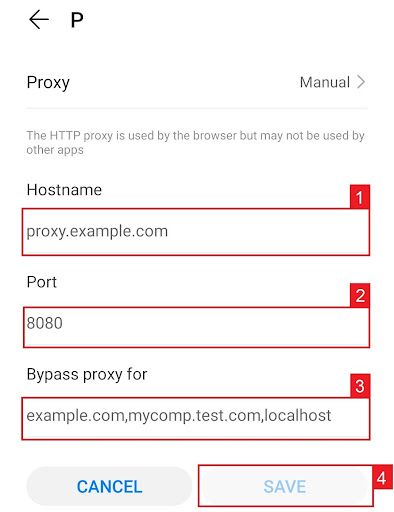
Note: You can enter hostnames or ip addresses here
If you chose Auto configuration, simply:
- Enter your proxy service’s .PAC url.
- Tap “Save”
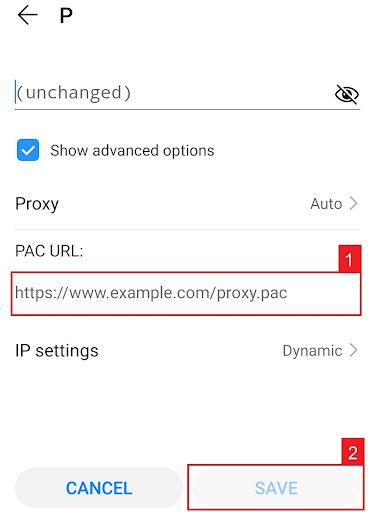
Note: Your service provider or network administrator will give you your required .PAC file.
For iPhone:
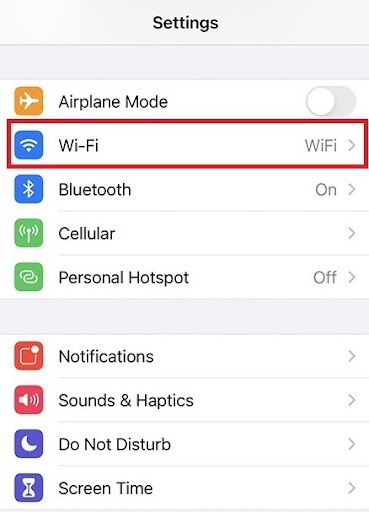
Step 1. Go to your Iphone’s Settings app.
Step 2. Click on “Wifi”
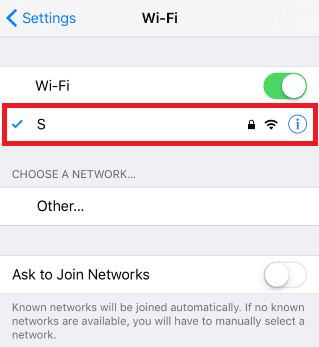
Step 3. Connect to the wi-fi network you want to use a proxy with and then tap on it again.
Step 4. Scroll down to the bottom and you will see the “HTTP Proxy” option
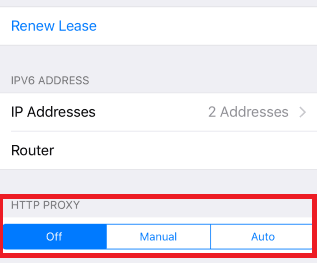
Configuring Your iPhone’s Proxy Settings
After being redirected to your iPhone’s proxy settings, you are then given two options to choose from: Manual proxy setup or automatic proxy setup. If you want automatic proxy detection for your proxy settings, choose the “Auto” option. Choose the “Manual” option if you want to utilize a specific ip address and port number.
If you choose the “Auto” option, your iPhone will then immediately check if a proxy is needed for your current network before automatically configuring your proxy settings. Your iPhone will not use a proxy server if it deems it to be unnecessary, but if you really want to use one then simply obtain an automatic proxy configuration script, or a .PAC file for short, and enter it in the url section as seen below.
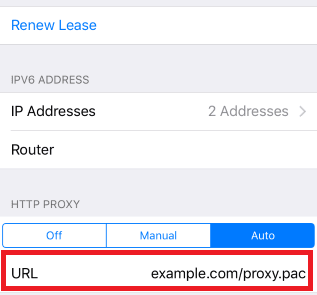
Note: You can get a .PAC file from your proxy service provider or your network administrator.
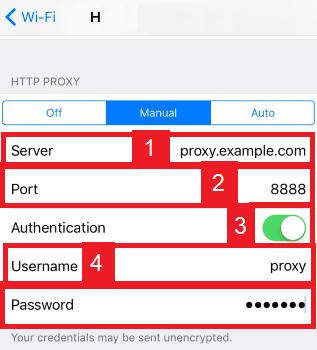
If you chose the “Manual” option then:
- Enter the server address or a IP address
- Enter the port number
- If your proxy provider says that authentication is required for the proxy server, then turn this on.
- Enter your authentication details
You have now finished configuring proxy settings on your device.
Disclaimer
Geonode is not affiliated with, endorsed by, sponsored by, or otherwise associated with Tinder or Match Group. Tinder is a trademark of its respective owner. This article is provided for general technical information about proxy configuration only. Users are responsible for complying with all applicable laws, network policies, and the terms of service of any websites or applications they access.