Unbeatable Prices on Proxies

đź’Ą
geonode logo

How To Use Proxies With JD.com

JD.com, also known as Jindong, is an e-commerce website that’s mainly used by a Chinese audience. Here's how to thoroughly install a proxy server for it!

Carl Gamutan

by Carl Gamutan

Publishing Date: April 8, 2022


JD.com, also known as Jindong, is an e-commerce website that’s mainly used by a Chinese audience. It is the biggest competitor to Alibaba, which is the largest online e-commerce company. JD.com is one of the best choices for local and international brands that want to break into the Chinese market as they provide a full range of services to assist these companies reach the Chinese audience.

As one of the world’s largest online retailers, JD.com has a lot of valuable information that marketers and data analysts want. They can efficiently gather this information through a scraper bot as manually scraping each individual page would take too much time and effort. The problem is that JD.com has a strict policy against the use of bots on their website and would immediately ban any account that’s recognized as using a bot.

To prevent JD.com from detecting the fact that you’re using a bot, you need the help of a JD.com proxy. A JD.com proxy will handle all of your web requests for you, which includes your bot’s requests, making any website you visit only see the IP address of the proxy server you’re using while hiding your own IP address. Through continuously rotating proxies, your bot would have a different IP address each time it makes a request making it appear as if it were different users sending those requests.

The best JD.com proxies to use here would be residential proxies as these types of proxies use residential IPs from actual devices. This completely deceives JD.com into thinking that your bot’s requests are from genuine Chinese users. Therefore, your scraper bot will not be banned and you can do all the scraping you want.

A JD.com proxy has many other uses. Not only will it give you protection for your online data and privacy, it will also help you shop faster on JD.com because you can connect to a proxy server that is close to the JD.com servers. If you want to own a store on JD.com and you’re not a Chinese resident, then you can also use a JD.com proxy to bypass this geo-restriction and own a store on JD.com.

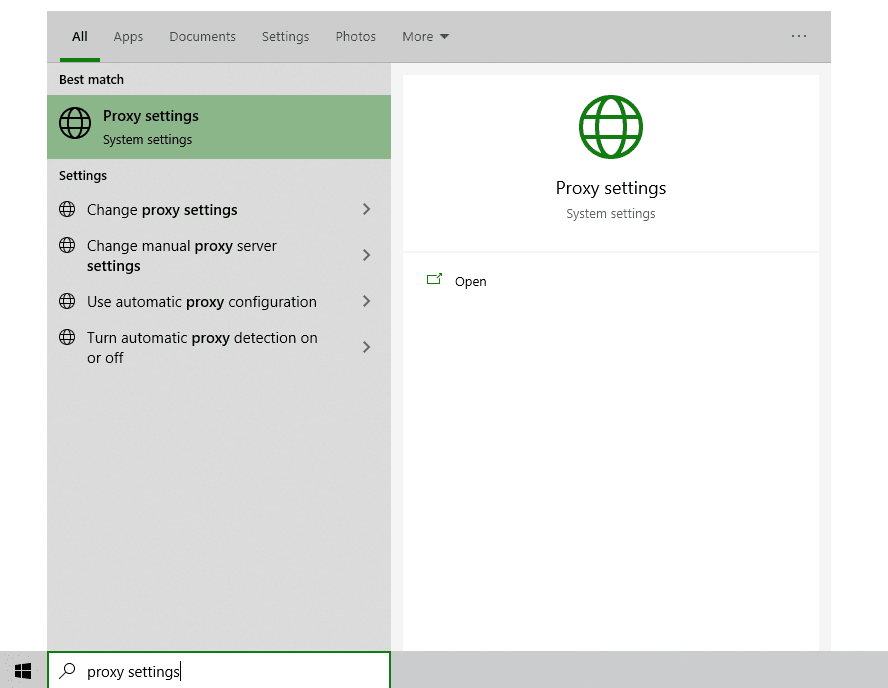
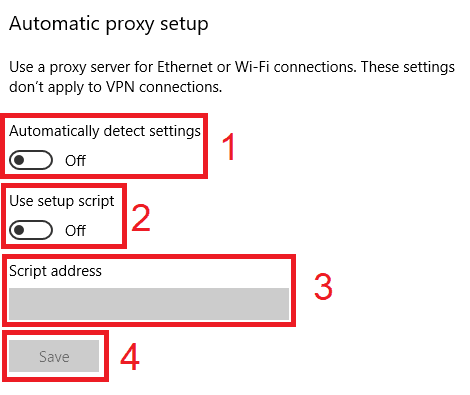
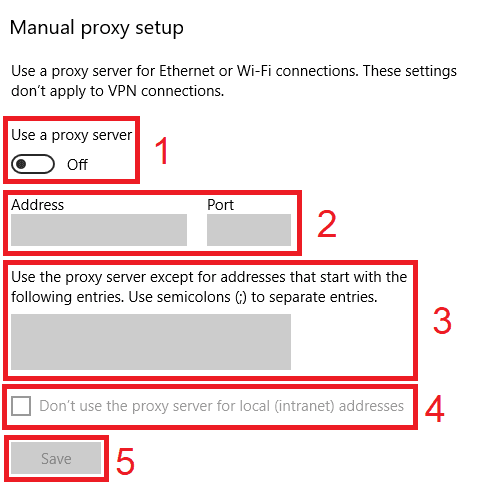
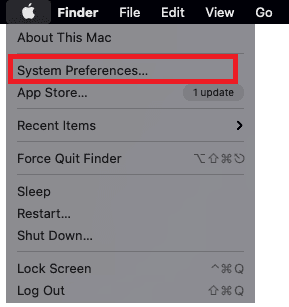
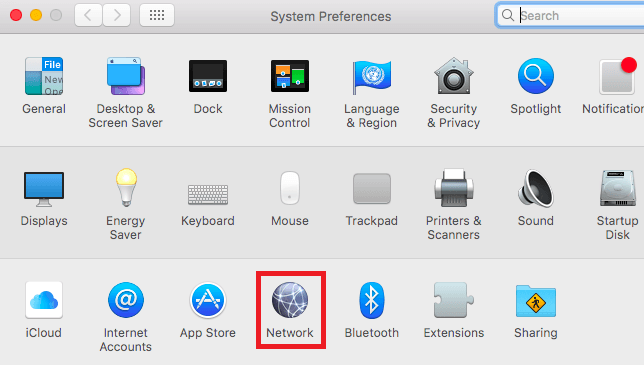
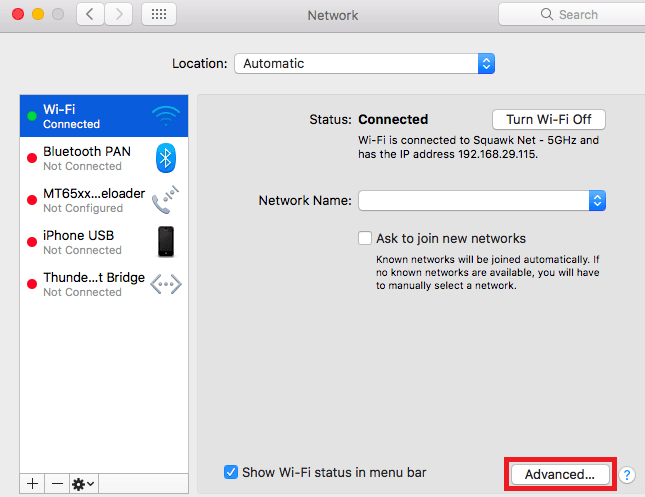
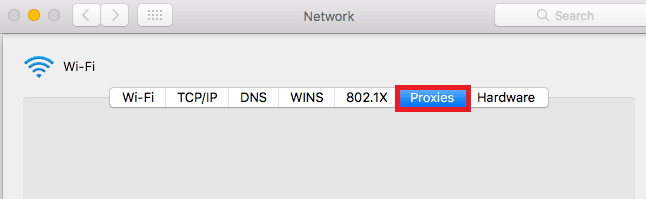
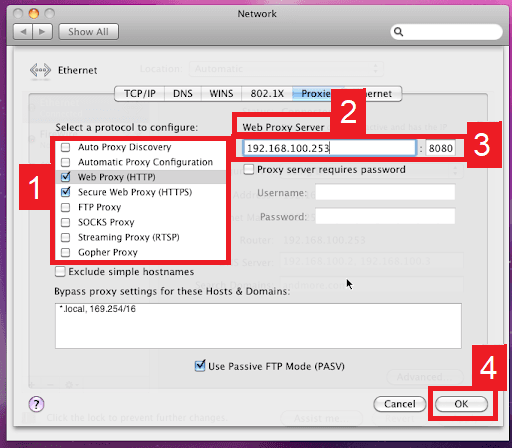
Let’s set up a JD.com proxy server.

Note: Make sure that the web browser you’re using for JD.com is set to automatically copy your computer’s proxy settings. Google Chrome automatically does this, so it’s recommended to use it.

How To Use Proxies With JD.com

For Windows:

To set up proxies in Windows, simply search for “Proxy Settings” in your windows search bar and open the search result.

windowsproxysettings.png

You are then given two options to choose from: Automatic proxy setup or Manual proxy setup. If you want windows to automatically detect your proxy settings, choose the first option. Choose the second option if you want to utilize a specific ip address and port number.

If you chose the first option, then:

  1. Turn on Automatically detect Settings
  2. Turn on Use setup script
  3. Enter the script address
  4. Click Save

windowsautomaticsetup.png

If you chose the second option, then:

  1. Turn on Use a proxy server
  2. Input both server address and port number
  3. If you have any addresses you would like to visit without a proxy, enter them here
  4. Turn on Don’t use the proxy server for local addresses check box if you want to access a local server without a proxy
  5. Click Save

windowsmanualsetup.png

For Mac.

To start configuring your proxy settings in MacOS, simply:

Step 1. Click on the Apple Icon.

macAppleIcon.png

Step 2. On the drop down menu, click on “System Preferences”.

macSystemPreferences.png

Step 3. Click on “Network”

macNetwork.png

Step 4. Click on “Advanced”

macNetworkAdvancedSettings.png

Note: Make sure to connect to your wi-fi first.

Step 5. Click on “Proxies”

macNetworkProxySettings.png

This should then redirect you to MacOS proxy settings. MacOS is more straightforward compared to windows. You only have one option which is to manually configure your proxy server.

Here are the steps to follow:

  1. Select which proxy IP protocol you want to configure. This depends on which protocols your proxy service provider offers.
  2. Turn on Secure Web Proxy
  3. Input the Proxy Server Address and Port Number
  4. Click OK to save the configurations

Note: You may be prompted for your Mac user password to save your settings.

macProxySetup.png

For Mobile:

To set up a JD.com proxy server for your mobile device, simply change your phone’s proxy settings. The web browser you’re using for JD.com will automatically copy your phone’s proxy settings whenever you use it. This is applicable for both Android and iOS. Here’s a thorough guide for Android and another one for iPhone.

Congratulations! You have now finished configuring a JD.com proxy server. Note that the first time you visit it, there will be a pop up asking for your login credentials.