Founded by the Internet Archive, the Wayback Machine is a digital archive of websites from the World Wide Web. The Wayback Machine is the internet’s historical library that allows any user to visit an archived version of a website. Users can easily input a URL and select which date range they want to view.
As of 2022, the Wayback Machine has saved over 728 billion web pages. It would not be an understatement to call the Wayback Machine a treasure trove of the internet’s history. The data you can extract from it can be utilized in many aspects, but if you want to gather that data quickly and efficiently, you need to use a web scraper. A web scraping tool will extract data from the Wayback Machine faster than humanly possible.
The Wayback Machine does allow you to scrape data from it, but only until a certain amount. If you want to bypass these limitations, and also scrape data safely, then you need to pair your web scraper with a proxy server. Through a proxy, you have access to millions of IP addresses, so you can easily change your IP address if you hit the Wayback Machine’s limit. A proxy server will also hide your private information, so you can safely scrape without needing to worry about your personal data getting stolen.
Let’s set up a proxy server when scraping the Wayback Machine.
The Wayback Machine’s Proxy Settings
For Windows:
Step 1
In Window’s search bar, type in “Proxy Settings”.
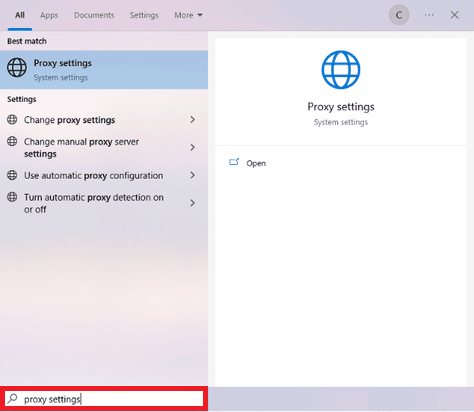
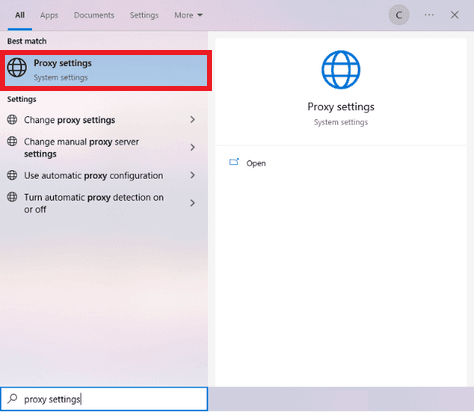
Step 2
Click on the "Proxy Settings" search result.
Step 3
You’ll be given the choice of “Automatic Proxy Setup” or “Manual Proxy Setup”. For example purposes, we’ll be choosing “Manual Proxy Setup”.
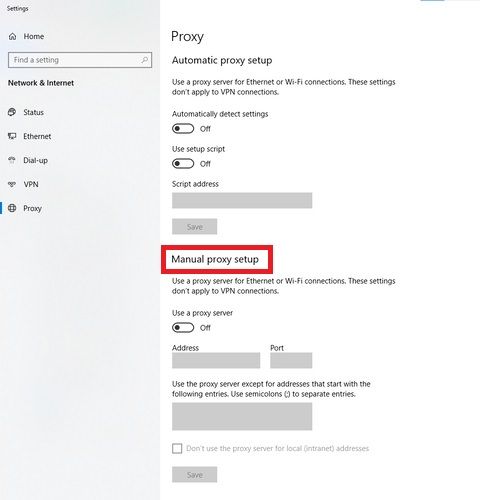
Step 4
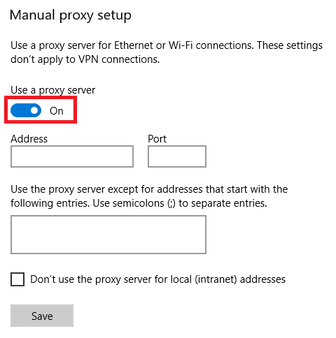
Turn on "Use a proxy server".
Now, you need to go to your proxy provider and acquire the proxy server details. If you want to get it from Geonode, you can jump to “Acquiring Proxy Server Details With Geonode”.
Step 5
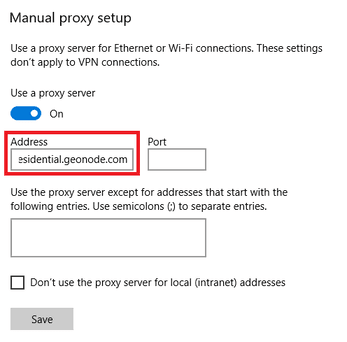
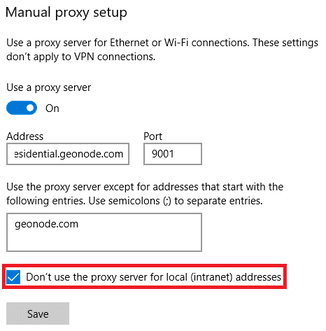
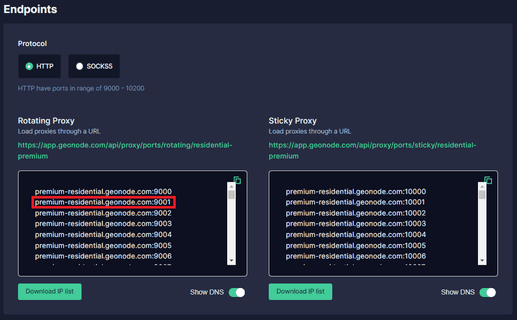
Enter your proxy’s “Hostname” or “IP address”. This is the first part before the semicolon, which in our example is “premium-residential.geonode.com”.
Step 6
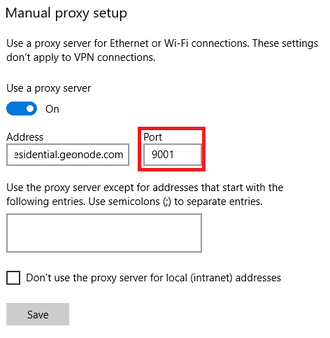
Enter your proxy’s “Port Number”. This is the second part before the semicolon, which in our example is “9001”.
Step 7
Enter any “website addresses” you would like to visit without a proxy.
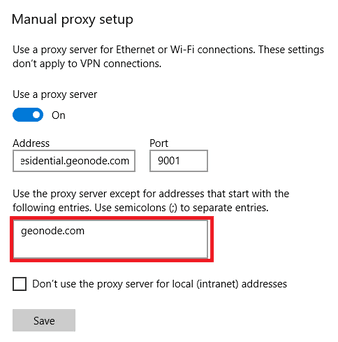
If you want to access a local server without a proxy, turn on the "Don’t use the proxy server for local addresses" check box.
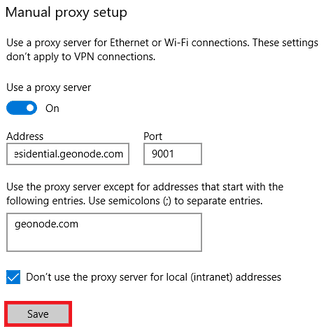
Step 8
Click “Save”.
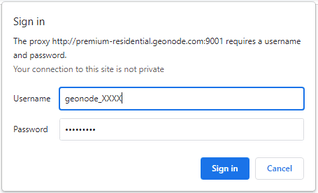
Step 9
Lastly, visit any website on Google Chrome and a pop-up window will appear asking for your account credentials. Enter your account’s “Username” and “Password”. Then, click on “Sign In”.
Congratulations! You have now set up a proxy server for your Windows operating system.
macOS’s Proxy Settings
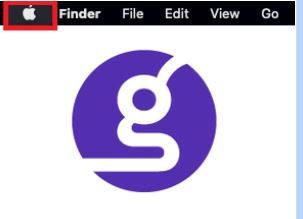
Step 1
Click on the "Apple Icon".
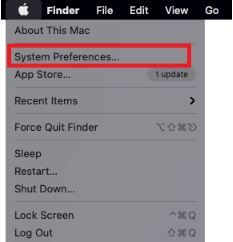
Step 2
On the drop down menu, click on “System Preferences”.
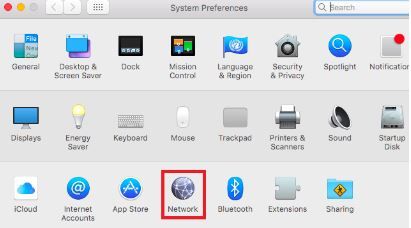
Step 3
Click on “Network”.
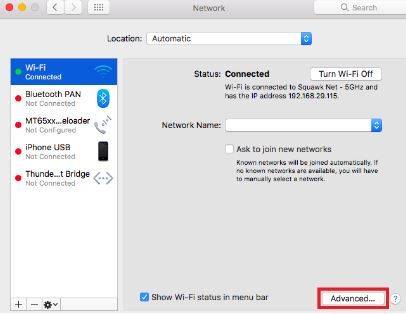
Step 4
Click on “Advanced” Note: Make sure to connect to your wi-fi first.
Step 5
Click on “Proxies”
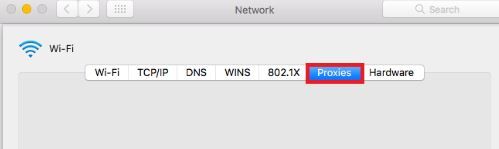
This should redirect you to MacOS proxy settings. Now, you need to go to your proxy provider and acquire the proxy server details. If you want to get it from Geonode, you can jump to “Acquiring Proxy Server Details With Geonode”.
Step 6
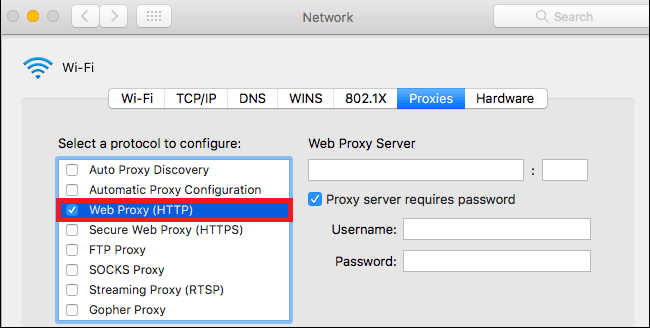
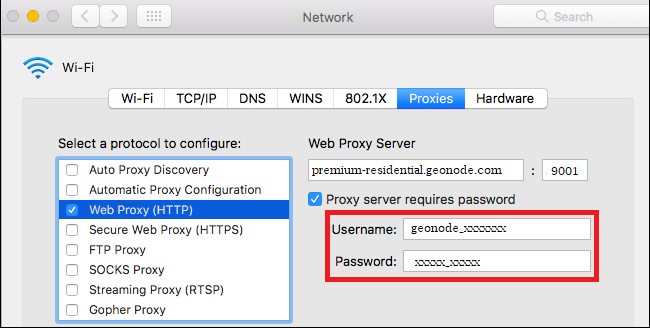
Select the correct protocol that you’ll be using. For our example, we’ll be selecting “Web Proxy (HTTP)”.
Step 7
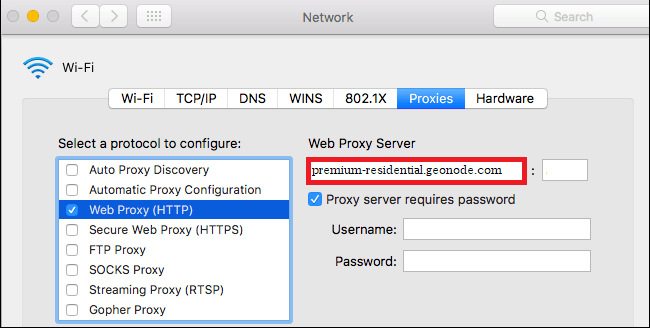
Enter your proxy’s “Hostname” or “IP address”. This is the first part before the semicolon, which in our example is “premium-residential.geonode.com”.
Step 8
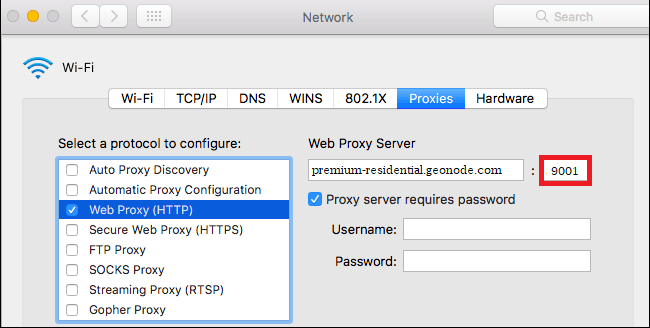
Enter your proxy’s “Port Number”. This is the second part before the semicolon, which in our example is “9001”.
Step 9
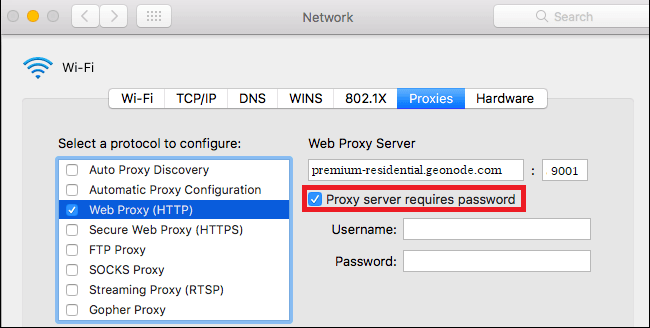
Turn on “Proxy server requires password”.
Step 10
Enter your proxy account’s “Username” and “Password”.
Congratulations! You have now set up your proxy for your Mac operating system.
Acquiring Proxy Server Details With Geonode
Step 1
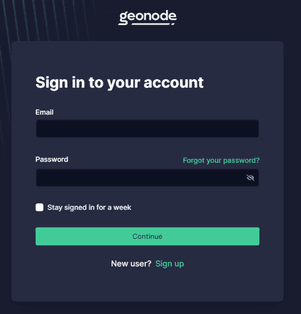
Go to Geonode and log in with your existing account or sign up to create a new one.
Step 2
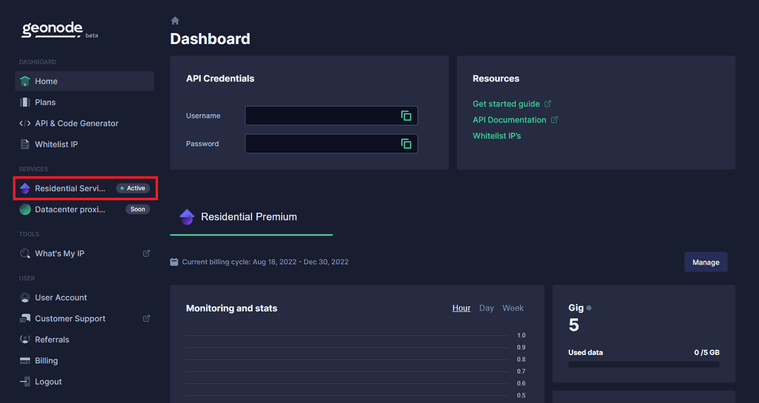
On the Home Page, click on “Residential Services”.
Step 3
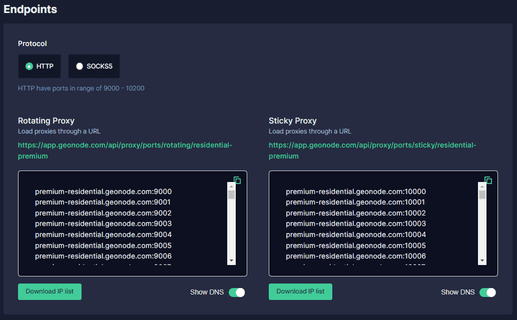
Scroll down until you see “Endpoints”.
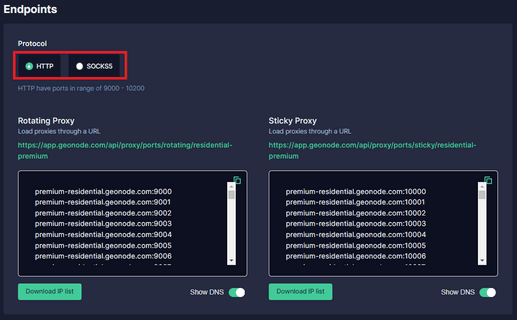
Step 4
Choose which “Proxy Protocol” you want to utilize: “HTTP Protocol” or “SOCKS5 Protocol”.
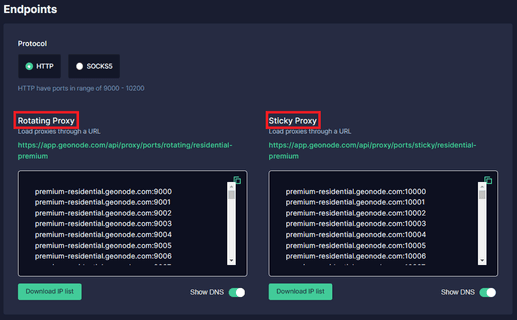
Step 5
Select which "Session Type" you want to utilize: “Rotating Proxy” or Sticky Proxy.
Step 6
Choose which proxy you want to utilize. For example purposes, we’ll be using the highlighted proxy “premium-residential.geonode.com:9001”.
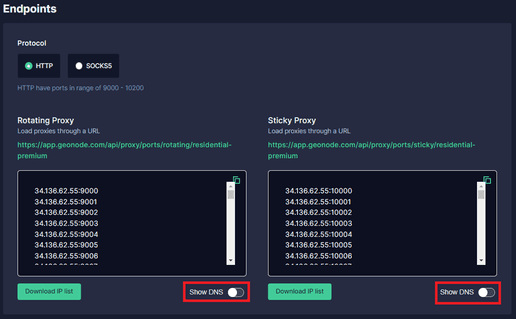
If you want to use an IP address instead of a DNS, simply turn off the Show DNS button, and IP addresses will show up.
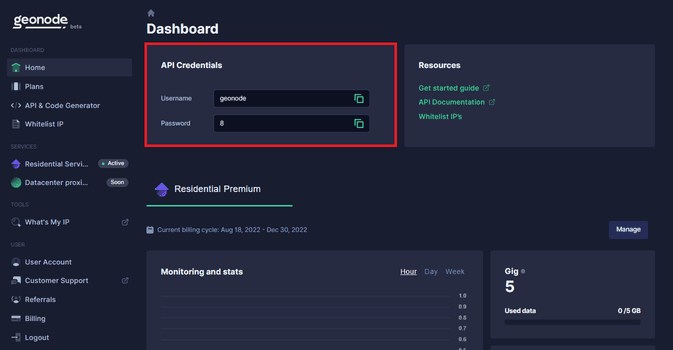
Step 7
Now you need your proxy account’s “Authentication Details”. For Geonode, this is on your account’s home page.