Proxy Reseller Program – get 10TB for $5k

đź’Ą
geonode logo

How To Use Proxies With Tidal Music

Extract valuable music data from Tidal Music with the help of a Tidal Music proxy! Here's how to set up the best Tidal Music proxies!

Carl Gamutan

by Carl Gamutan

Publishing Date: April 8, 2022


Tidal Music, or simply Tidal, is a global streaming service that offers users a variety of high-quality music, podcasts and videos. Although Tidal was originally owned by a Swedish company, Aspiro, it’s now majority-owned by an American company named Block. Tidal Music is available for free but users can gain access to higher quality audio by subscribing to their higher tier subscriptions. Compared to other music streaming platforms like Spotify and Apple Music, Tidal’s highest tier subscription has the highest audio quality and sound quality but it does cost more.

Tidal Music has over 70 million tracks, 250 thousand videos, and lots of user playlists. So, if you want to scrape valuable data from Tidal then you would need to use a scraper bot as manually doing so would take too much time and effort. Although using a bot would save you so much hours and energy, Tidal Music has a strict anti-bot system that will immediately ban your IP address if it recognizes that you’re using a bot. The best way to circumvent this policy is to use a Tidal Music proxy.

Tidal Music proxies are simply regular proxies that work as a gateway between your device and the internet. Any website you visit or application you use will only be able to see the IP address of the proxy server and never your own IP address. By constantly changing the IP address of your bot through rotating proxies, you can mislead Tidal Music into thinking that your bot’s requests are coming from different people with various locations instead of it coming from a single IP address. This enables you to scrape without restrictions and not be afraid of being banned.

As Tidal Music is only available in 61 countries, a Tidal Music proxy is also useful for bypassing geographical restrictions if you live in a region that has no access to Tidal Music. Even if you’re just visiting those regions, you still won’t be able to access Tidal and play music.

The best Tidal Music proxies to use would be either residential proxies or datacenter proxies, depending on what you want. If you want full assurance that your bot won’t be banned by Tidal Music while giving you total anonymity, then residential proxies are the one for you. If you value speed and want a faster way to scrape data, then datacenter proxies are what’s best for you.

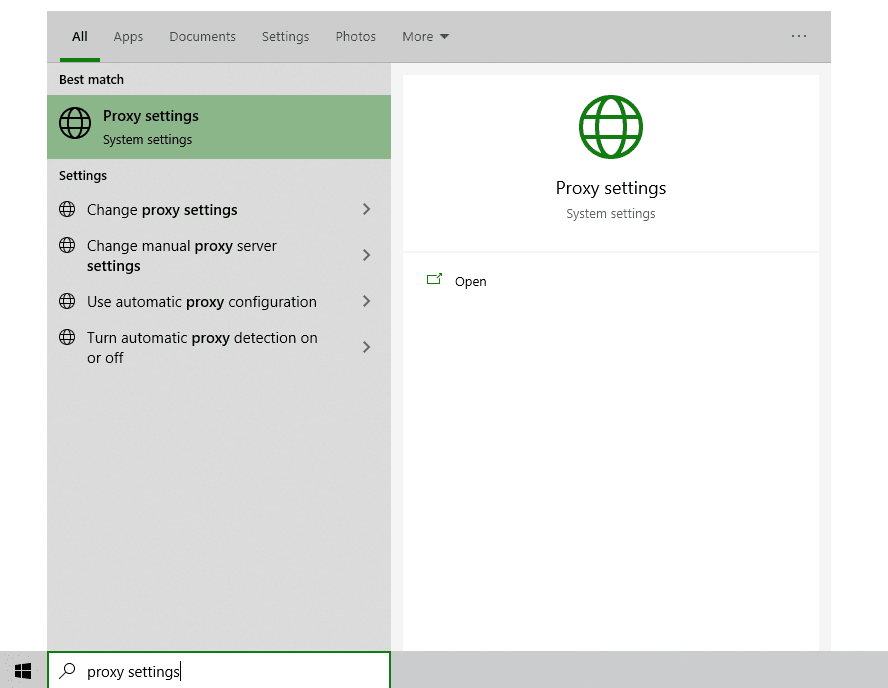
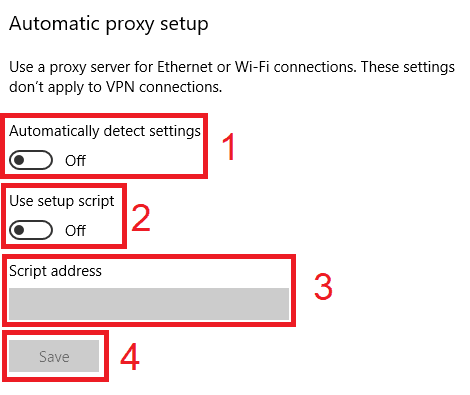
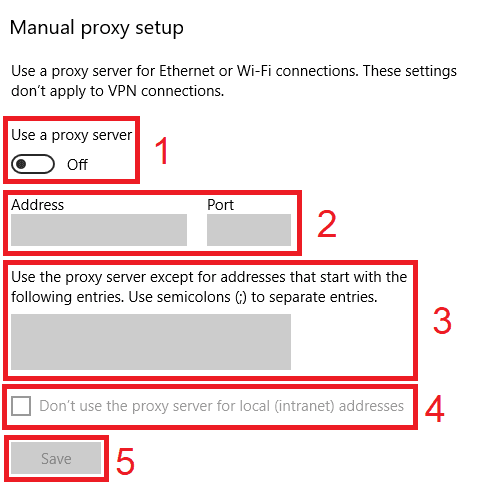
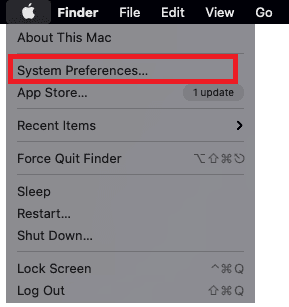
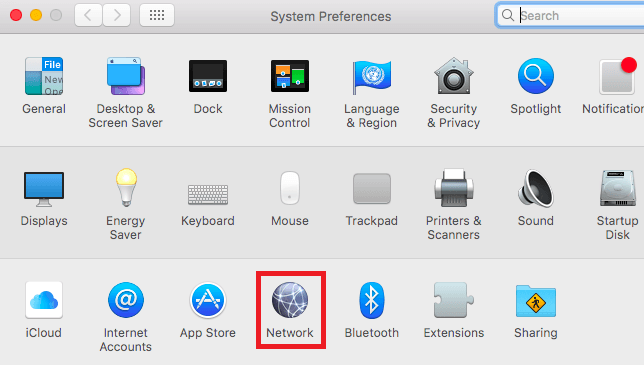
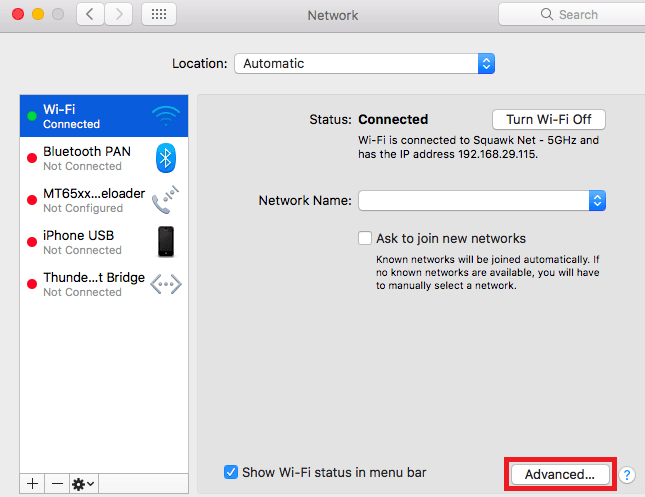
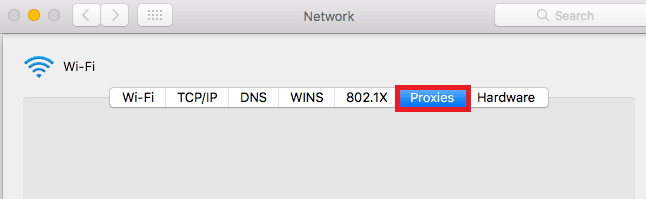
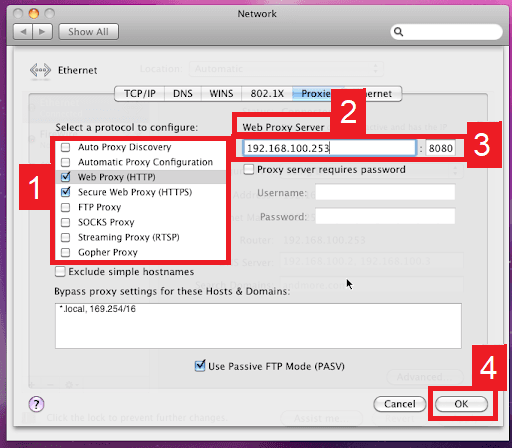
Let’s set up a Tidal Music proxy server.

Note: A reminder to make sure that the web browser you’re using for Tidal Music is set to automatically copy your system’s proxy settings. It’s recommended to use Google Chrome because it automatically does this.

For Windows:

To set up proxies in Windows, simply search for “Proxy Settings” in your windows search bar and open the search result.

windowsproxysettings.png

You are then given two options to choose from: Automatic proxy setup or Manual proxy setup. If you want windows to automatically detect your proxy settings, choose the first option. Choose the second option if you want to utilize a specific ip address and port number.

If you chose the first option, then:

  1. Turn on Automatically detect Settings
  2. Turn on Use setup script
  3. Enter the script address
  4. Click Save

windowsautomaticsetup.png

If you chose the second option, then:

  1. Turn on Use a proxy server
  2. Input both server address and port number
  3. If you have any addresses you would like to visit without a proxy, enter them here
  4. Turn on Don’t use the proxy server for local addresses check box if you want to access a local server without a proxy
  5. Click Save

windowsmanualsetup.png

For Mac.

To start configuring your proxy settings in MacOS, simply:

Step 1. Click on the Apple Icon.

macAppleIcon.png

Step 2. On the drop down menu, click on “System Preferences”.

macSystemPreferences.png

Step 3. Click on “Network”

macNetwork.png

Step 4. Click on “Advanced”

macNetworkAdvancedSettings.png

Note: Make sure to connect to your wi-fi first.

Step 5. Click on “Proxies”

macNetworkProxySettings.png

This should then redirect you to MacOS proxy settings. MacOS is more straightforward compared to windows. You only have one option which is to manually configure your proxy server.

Here are the steps to follow:

  1. Select which proxy IP protocol you want to configure. This depends on which protocols your proxy service provider offers.
  2. Turn on Secure Web Proxy
  3. Input the Proxy Server Address and Port Number
  4. Click OK to save the configurations

Note: You may be prompted for your Mac user password to save your settings.

macProxySetup.png

For Mobile:

To configure mobile Tidal Music proxies, simply change your phone’s proxy settings. The Tidal app will copy your phone’s proxy settings whenever you use it. This is applicable for both Android and IOS. Here’s a thorough guide for Android and another one for iPhone.

Congratulations! You have now finished configuring your Tidal Music proxy server. Note that the first time you visit it, there will be a pop up asking for your login credentials.