Zoom is one of the most popular video conferencing applications today. The recent pandemic has boosted its popularity and it has now become the platform of choice for many groups ranging from government agencies to family parties. It allows Zoom users to set up virtual meetings whether it be conferences, webinars, live chats, and many other collaborative events. It’s available for all platforms so people can join from any device and they don’t have to create a zoom account to do it!
One of Zoom’s biggest selling points is its simplicity. Zoom is pretty easy to use but it doesn’t mean that you can’t get more out of it. It still has a lot of settings and features to offer that are aimed at more “advanced” professionals. Another big selling point for Zoom is its security and privacy. Zoom takes great care to ensure that your data is always secure. They encrypt all of your session’s data and have unique signatures and watermarks for each user to identify leaks. Zoom also has a wide range of authentication methods for individual accounts and even has 2-factor authentication for users.
To truly protect your data and privacy and get the best experience out of zoom, you can always install a proxy server. Not only will a proxy server hide your IP address and real location, but it will also help you avoid lag spikes and constant disconnections. The best proxies for Zoom would usually be datacenter proxies as they are faster but if you want to change your location then it’s recommended to residential proxies as they are more secure. If you’re thinking of using a zoom proxy for free, it’s highly recommended not to use it.
To install a Zoom proxy server on your device, you simply need to configure a proxy server for your preferred system as Zoom proxy settings are based on your own system’s proxy settings. Let’s do it.
For Windows:
To set up proxies in Windows, simply search for “Proxy Settings” in your windows search bar and open the search result.
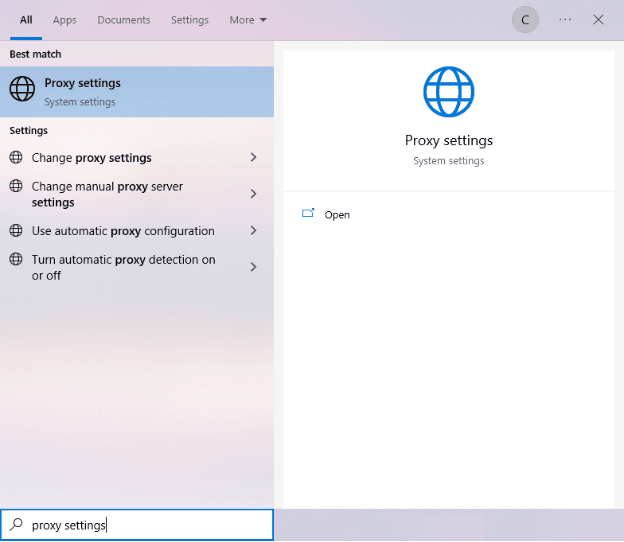
You are then given two options to choose from: Automatic proxy setup or Manual proxy setup. If you want windows to automatically detect your proxy settings, choose the first option. Choose the second option if you want to utilize a specific ip address and port number.
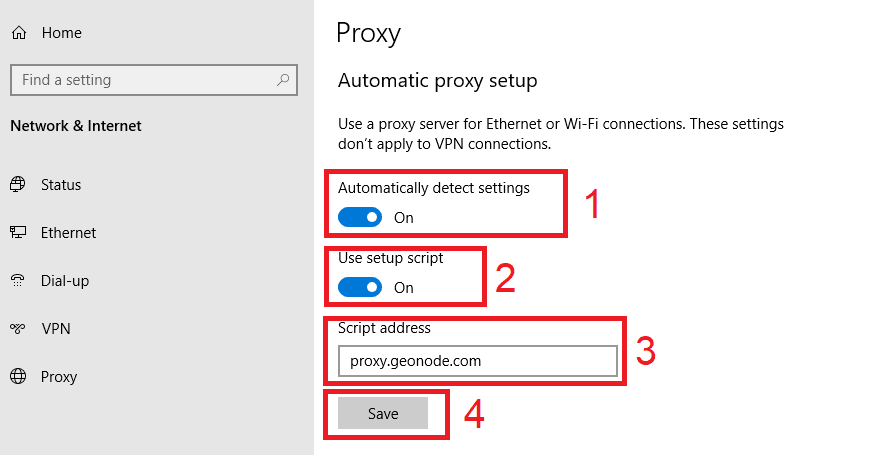
If you chose the first option, then:
- Turn on Automatically detect Settings
- Turn on Use setup script
- Enter the script address
- Click Save
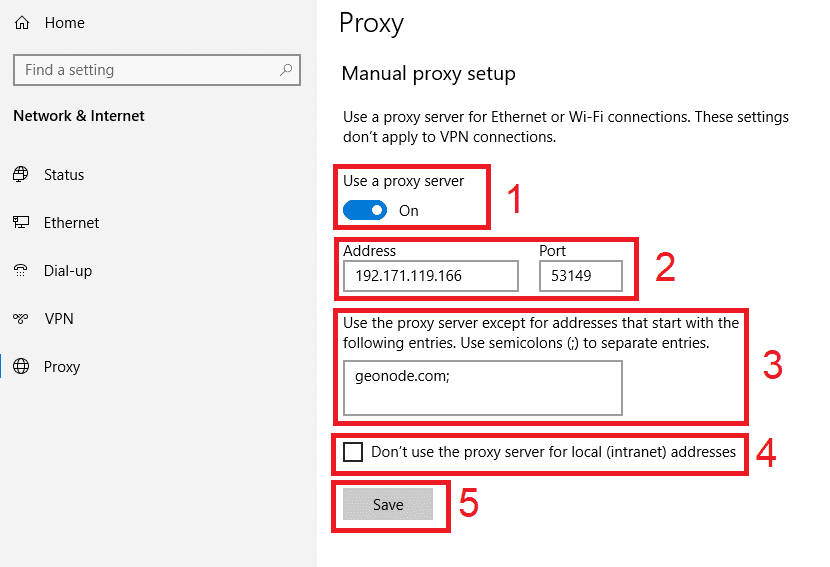
If you chose the second option, then:
- Turn on Use a proxy server
- Input both server address and port number
- If you have any addresses you would like to visit without a proxy, enter them here
- Turn on Don’t use the proxy server for local addresses check box if you want to access a local server without a proxy
- Click Save
For Mac.
To start configuring your proxy settings in MacOS, simply:
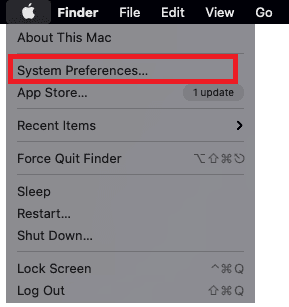
Step 1. Click on the Apple Icon.
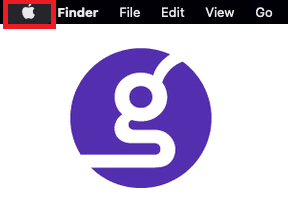
Step 2. On the drop down menu, click on “System Preferences”.
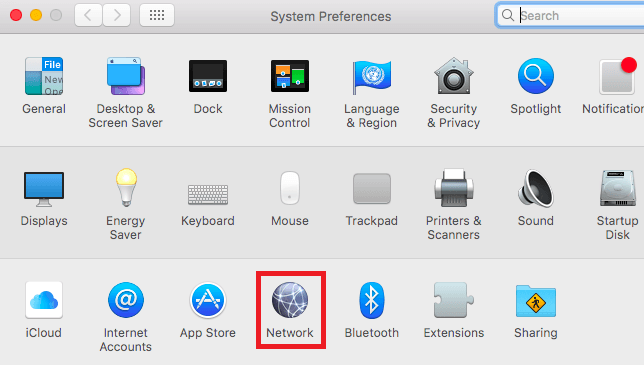
Step 3. Click on “Network”
Step 4. Click on “Advanced”
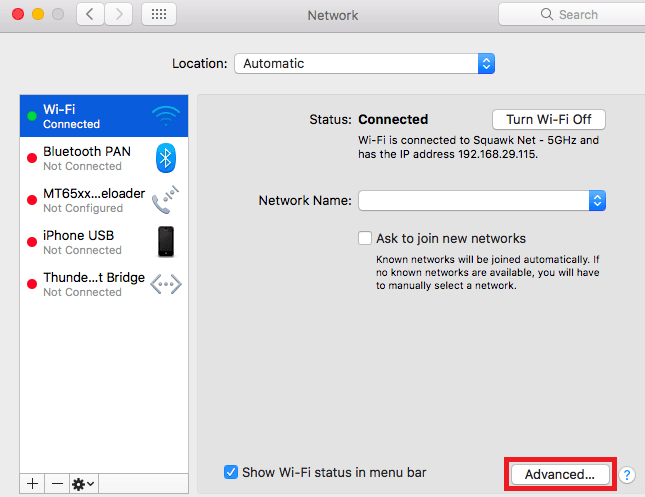
Note: Make sure to connect to your wi-fi first.
Step 5. Click on “Proxies”
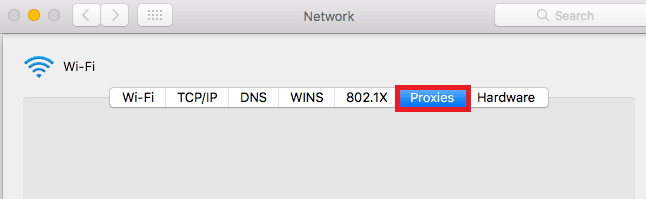
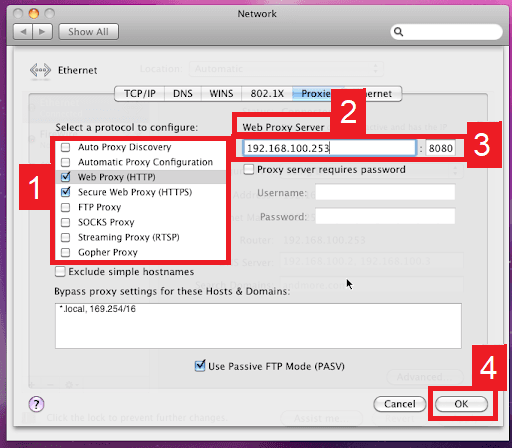
This should then redirect you to MacOS proxy settings. MacOS is more straightforward compared to windows. You only have one option which is to manually configure your proxy server.
Here are the steps to follow:
- Select which proxy IP protocol you want to configure. This depends on which protocols your proxy service provider offers.
- Turn on Secure Web Proxy
- Input the Proxy Server Address and Port Number
- Click OK to save the configurations
Note: You may be prompted for your Mac user password to save your settings.
Congratulations! You have now set up a proxy server for Zoom. If you’re using a web browser, remember to double-check if it’s set to copy your system’s proxy settings.
For Mobile:
To configure Zoom proxy settings in mobile, simply configure your phone’s proxy server settings . The Zoom app would automatically use it’s settings. This is applicable for both Android and IOS. Here’s a thorough guide on how to configure a proxy server for Android Zoom and how to configure proxy server for Zoom on iPhone.
