Teamviewer is a remote access and remote control software that allows users to control computers or mobile devices from anywhere in the world. It allows users to work remotely, provide remote IT solutions, deliver cross-platform support and solutions for your clients, and many more. Teamviewer is available for free for your personal use and you can use it on any computer or mobile device.
To fully optimize your usage of Teamviewer, you need the help of a Teamviewer proxy. Basically, a Teamviewer proxy would act as a gateway between your device and the internet. Any website you visit would only be able to see the IP address of the proxy server you’re using. All of the connections that you make will happen via the proxy server.
There are many cases in which a Teamviewer proxy would become useful for you. If you want total anonymity when using Teamviewer, then a Teamviewer proxy will ensure that your online safety and privacy will be fully protected. In order to find reliable proxies for this purpose, you can search our list of free proxies for Teamviewer. This will provide you with a selection of proxies that can be used to optimize your Teamviewer experience. In fact, using a proxy can be a key part of extracting data from various sources securely and anonymously, as it masks your true identity and location.
There are many cases in which a Teamviewer proxy would become useful for you. If you want total anonymity when using Teamviewer, then a Teamviewer proxy will ensure that your online safety and privacy will be fully protected. Speaking of protection, a Teamviewer proxy will also protect your personal data from any kind of data or information leak.
If you want a faster Teamviewer connection when accessing remote and far away locations, a Teamviewer proxy will speed up your connectivity by changing to a proxy server and network that is close to that location. A Teamviewer proxy will also help you bypass geo-restrictions and any kind of information censoring allowing you to get around your network’s firewall.
The best Teamviewer proxies to use would be residential proxies as these types of proxies utilize residential IPs from actual devices making you appear as if you were a real user and not someone who’s using a proxy. Any website will not be able to detect the fact that you’re connecting to a proxy server.
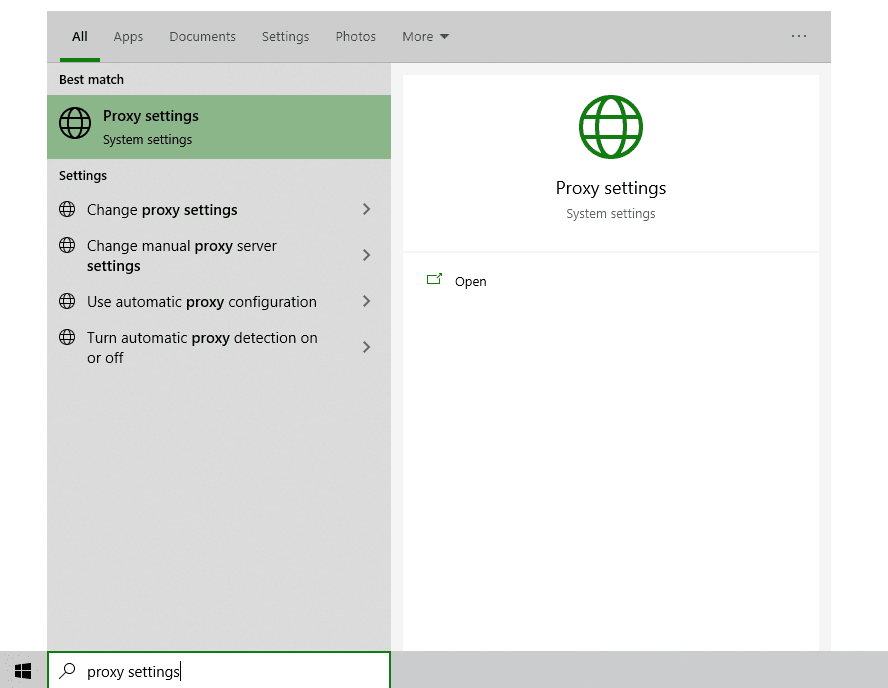
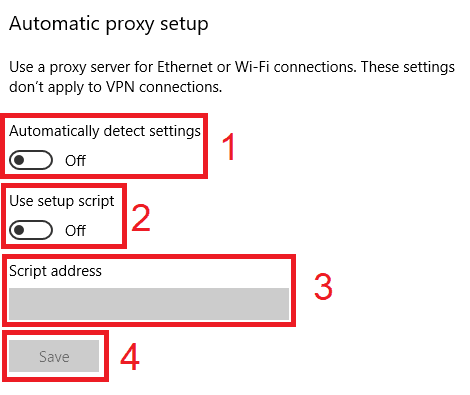
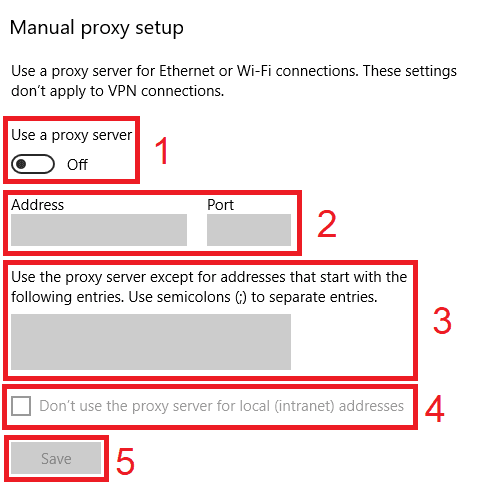
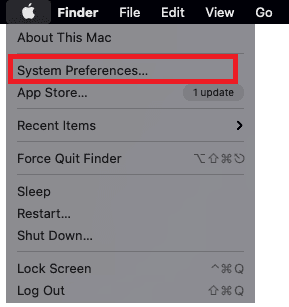
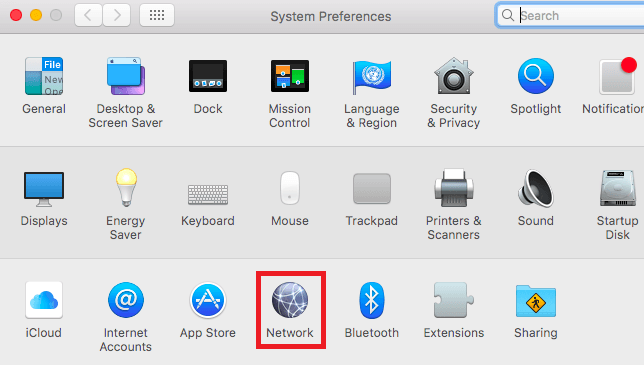
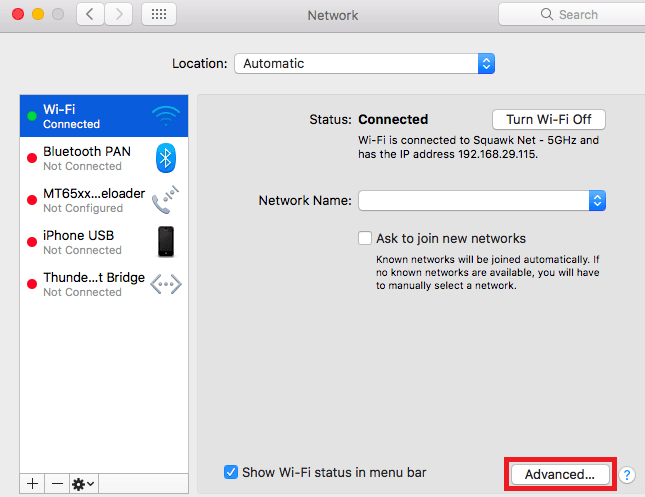
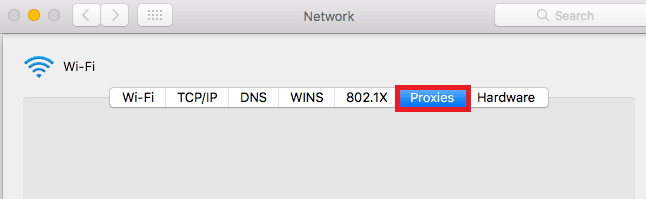
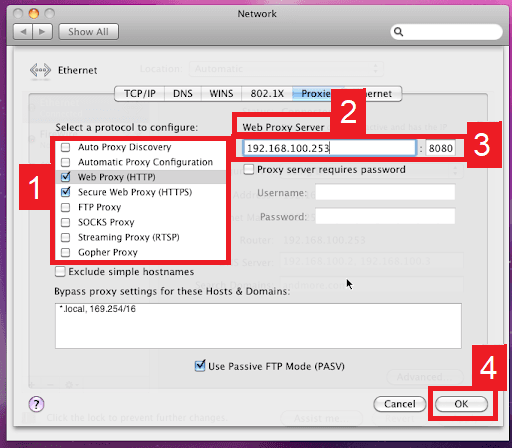
Let’s set up a Teamviewer proxy server.
Note: The Teamviewer desktop application will automatically detect your computer’s proxy settings. So, configuring your operating system’s proxy settings is the same as configuring Teamviewer’s proxy setting.